Ticketing Guide
Everything you need to sell tickets, manage discounts, run door sales, and scan attendees — with 100% of revenue going directly to your HBA.
⏱ About 10 min read- Payment setup (Stripe / Authorize.net)
- Ticket types & pricing
- Scannable date windows
- Coupon & discount codes
- Complimentary & free tickets
- Free events
- Paper & printed tickets
- Scanning & volunteer setup
- Finding & editing ticket records
- Receipts & lost tickets
- Ticket demographics & data
- Terms & conditions
- Troubleshooting
Payment Setup
ParadeSmart uses Stripe (preferred) or Authorize.net to process ticket payments. You'll need to connect one of these before you can sell tickets. Get this to us early — it takes time to get keys set up correctly.
What to send us
Starts with pk_live_
Starts with sk_live_
Found in your Authorize.net dashboard under Account Settings
Create a free account at stripe.com. Once verified, find your API keys in the Dashboard under Developers → API Keys. Send us the live keys — not the test keys — for your actual event.
Ticket Types & Pricing
You can create as many ticket types as you need — Adult, Child, VIP, Senior, Group, Premiere Party, and more. Each type has its own price, availability window, and optional coupon code.
How to create a ticket type
- 1Go to Tickets → Ticket Types in the Web Manager
URL:
parade.velocitywebworks.com/manage/ticket-types/ - 2Click Create
You can create multiple types — one for each price tier or audience group.
- 3Set the name, price, and description
For free tickets, set price to
0. For discounted tickets, enter the discounted price. - 4Check the Active box
Only active ticket types are visible and purchasable on your ticket sales page.
- 5Save
The ticket type is now live. Test it on your ticket sales page to confirm it appears correctly.
VIP tickets, Premiere Party tickets, and sponsor tickets should always be separate ticket types so they can have their own scan windows, pricing, and coupon codes without affecting general admission.
Scannable Date Windows
Scan Start and Scan End dates control when a ticket can be scanned successfully — not when it's available for purchase. A ticket scanned outside its date window will show an error, even if it was validly purchased.
This is most useful for:
- VIP or Premiere Party events on a specific evening
- Sponsor or influencer tickets that only apply on day one
- Any ticket that should scan during a restricted window only
How to set scannable dates
- 1Go to Tickets → Ticket Types
- 2Click the ticket name (or Edit)
- 3Set Scan Start Date and Scan End Date
These are the first and last days the ticket can be successfully scanned.
- 4Confirm Active is checked
The ticket must be active to be purchasable.
- 5Save
Always do a quick test scan before the event.
If Scan Start and Scan End are both blank, the ticket can be scanned at any time while the event is active. Only set scan dates for tickets that need to be restricted.


Coupon & Discount Codes
Create coupon codes that unlock a discounted or free ticket type — perfect for sponsors, community groups, media partners, or early-bird offers. You can create unlimited codes and toggle them on or off at any time.
How to create a coupon code
- 1Go to Tickets → Ticket Types
parade.velocitywebworks.com/manage/ticket-types/ - 2Create a new ticket type
Set the price to the discounted amount (
0for a free coupon, or a lower price for a partial discount). - 3Set an Access / Coupon Code on the ticket type
This is the code you'll share with recipients. Keep it short and memorable — e.g.
SPONSOR2026 - 4Save and share the code
On the ticket sales page, visitors enter the coupon code and the discounted ticket type becomes available.
Deactivate a coupon by unchecking Active on that ticket type. The code stops working immediately — no need to delete it. Reactivate any time by checking Active again.
Complimentary & Free Tickets
You can send free tickets to specific individuals, organizations, or in bulk. Choose the method that fits the situation.
Option 1: Purchase tickets and send to recipients
- 1Go to your ticket sales page
Use your parade website or the link we provided.
- 2Select how many tickets to purchase
- 3Enter your information or the recipient's
- 4Select "Email tickets to specific recipients"
This lets you send individual tickets to multiple addresses from a single purchase.
Option 2: Coupon code for recipients to get their own
For larger quantities, create a free ticket type with a coupon code and share the code with recipients. They get their own ticket on demand, reducing your admin work.
For very large comp distributions (hundreds of tickets), we recommend either using a coupon code for self-registration, or using paper tickets that can be physically distributed. This avoids email deliverability issues with bulk sends.
Make sure your terms and conditions include language about how ticket holder data may be used. See the Terms & Conditions section below. When in doubt, consult a legal professional familiar with data privacy in your state.

Free Events
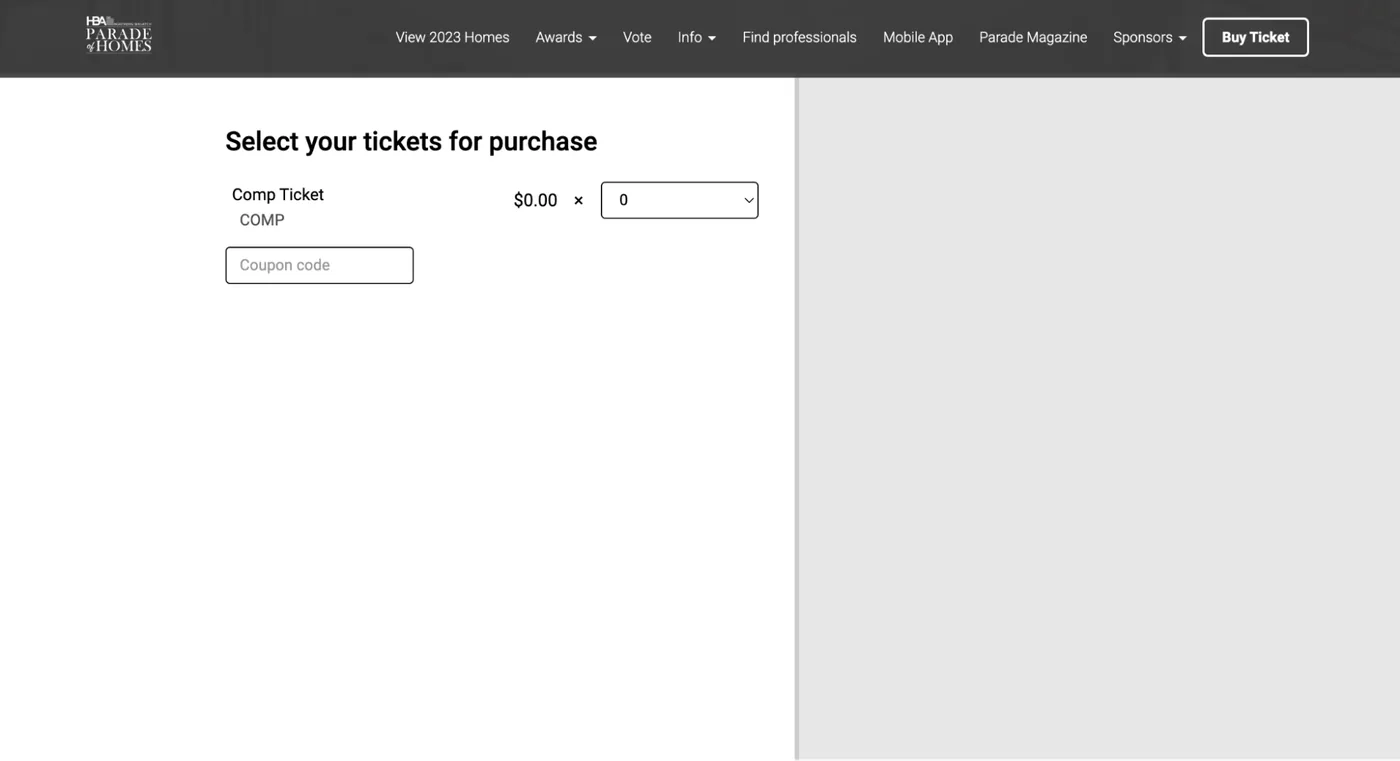
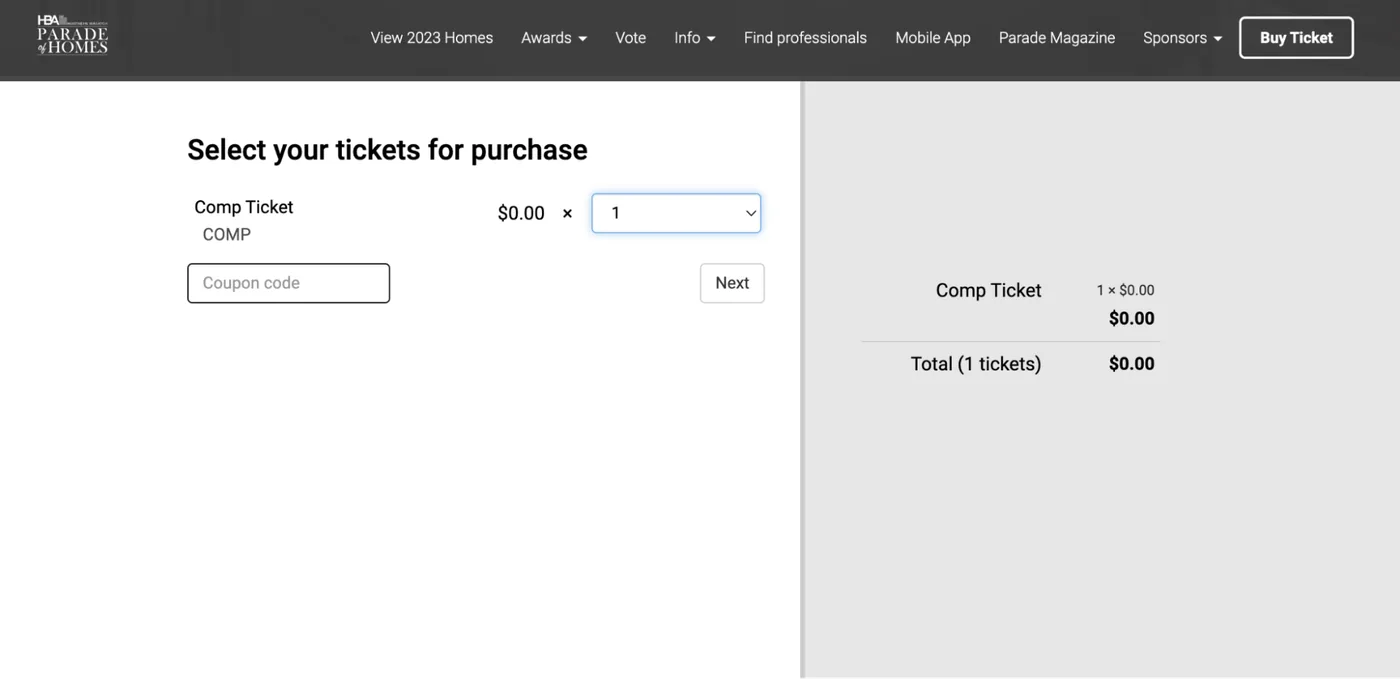
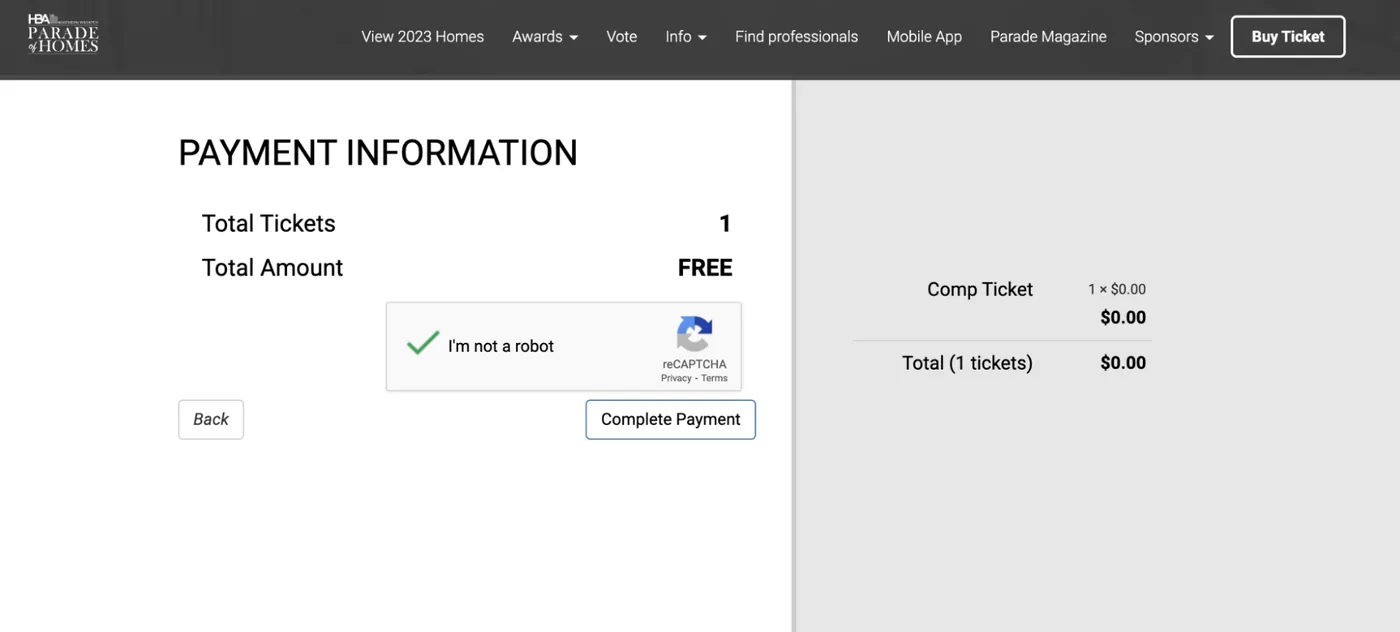
If your entire parade is free to attend, you can still use ParadeSmart's ticketing system for attendance tracking, scanning, and analytics — without charging anyone.
- 1Create a ticket type with price set to 0
Follow the ticket type creation steps above. Set the price field to
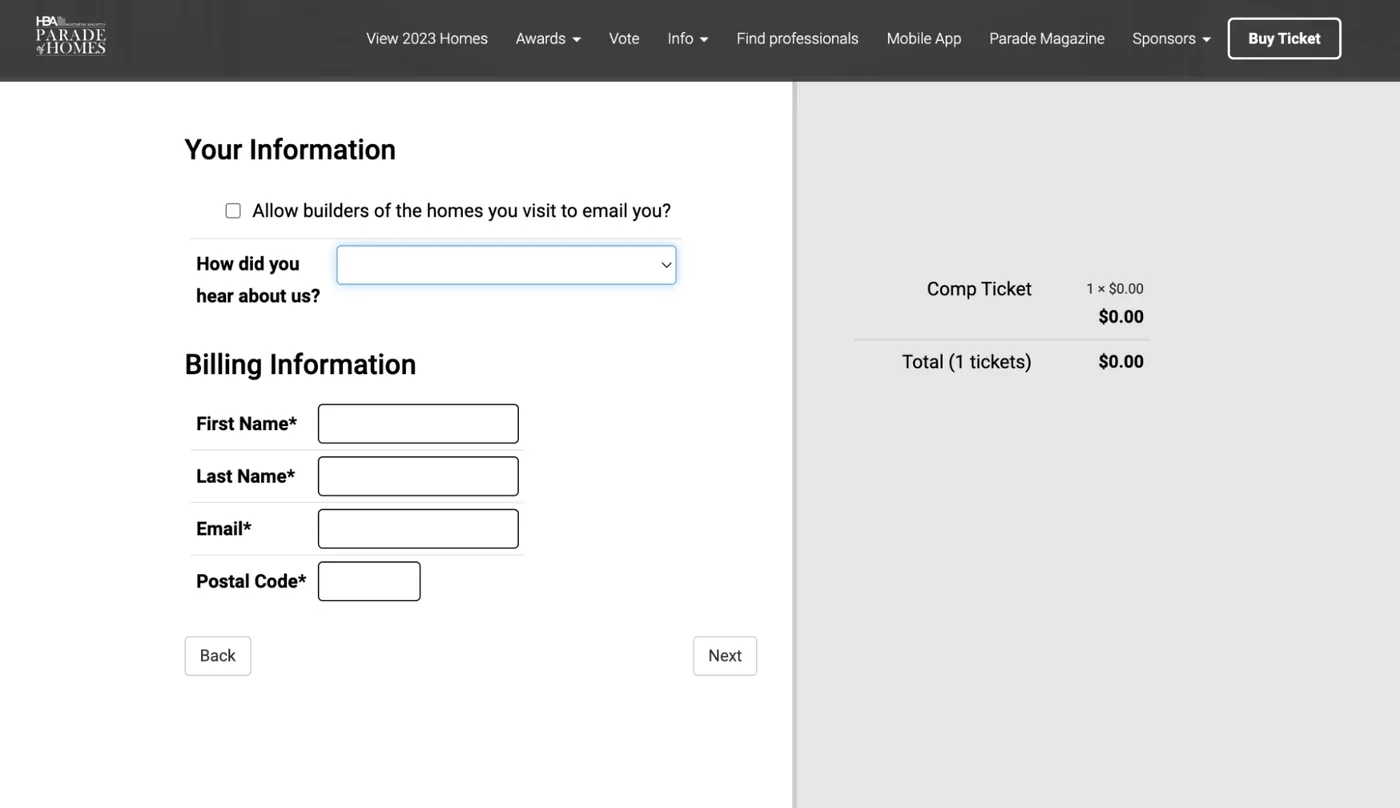
0. - 2No credit card required for attendees
Free tickets skip payment entirely. Attendees still register and receive a QR code they can use at the door.
- 3All scanning and analytics still work
You'll still have full access to attendance reports, visit counts, and demographic data.
Paper & Printed Tickets
Many events run paper and digital tickets side by side — the backend tracks and scans both the same way, so you're covered no matter which format a guest shows up with.
How printed tickets are produced
ParadeSmart doesn't design or print physical tickets — we generate the data behind them. Your printer handles the actual design and printing. Here's the full process:
- 1Create the ticket type, then tell us how many you need
The physical ticket type must already exist in the Dashboard first. Then let the ParadeSmart support team know how many tickets you need generated for that type.
- 2We generate a batch and export a CSV
Our system creates a ticket batch and exports it as a CSV file containing a hash code, ticket number, and secret code for every ticket in the batch.
- 3Send the CSV to your printer
Your printer generates the QR code themselves from the hash code, then places the QR code, ticket number, and secret code onto each physical ticket.
- 4Send us a proof before printing
Once your printer has a ticket proof, ParadeSmart needs to review it before the full print run. We test that registration, scanning, and the QR code itself all function correctly.
- 5Print and distribute
Once we've approved the proof, the printer can run the full batch. From there, sell or distribute the tickets however works best for your event.
The QR code doesn't point to a website or URL. It only resolves through the ParadeSmart scanning system, so if someone scans it with a regular phone camera instead of the event app, it will look broken or go nowhere. That's expected, not an error. Because of this, always send us a proof before the full run goes to print so we can confirm the ticket number, secret code, and QR are all set up correctly.
Digital tickets remove printing costs and let attendees buy and register instantly from home. Paper tickets still work well for walk-up sales, outlet locations without reliable internet, or attendees who prefer something physical. Running both gives visitors the choice.
Once a printed ticket is approved and in circulation, its QR code scans through the same app interface as a digital ticket. Builders and volunteers don't need a separate process or device for either format.
Want to add a printed ticket option to an event that's currently digital-only? Email us at support@paradesmart.com with the ticket type and quantity you need, and we'll generate the batch.
Scanning & Volunteer Setup
Ticket scanning works on any smartphone — your volunteers and builders don't need dedicated hardware. The ParadeSmart app handles everything.
How builder scanning works
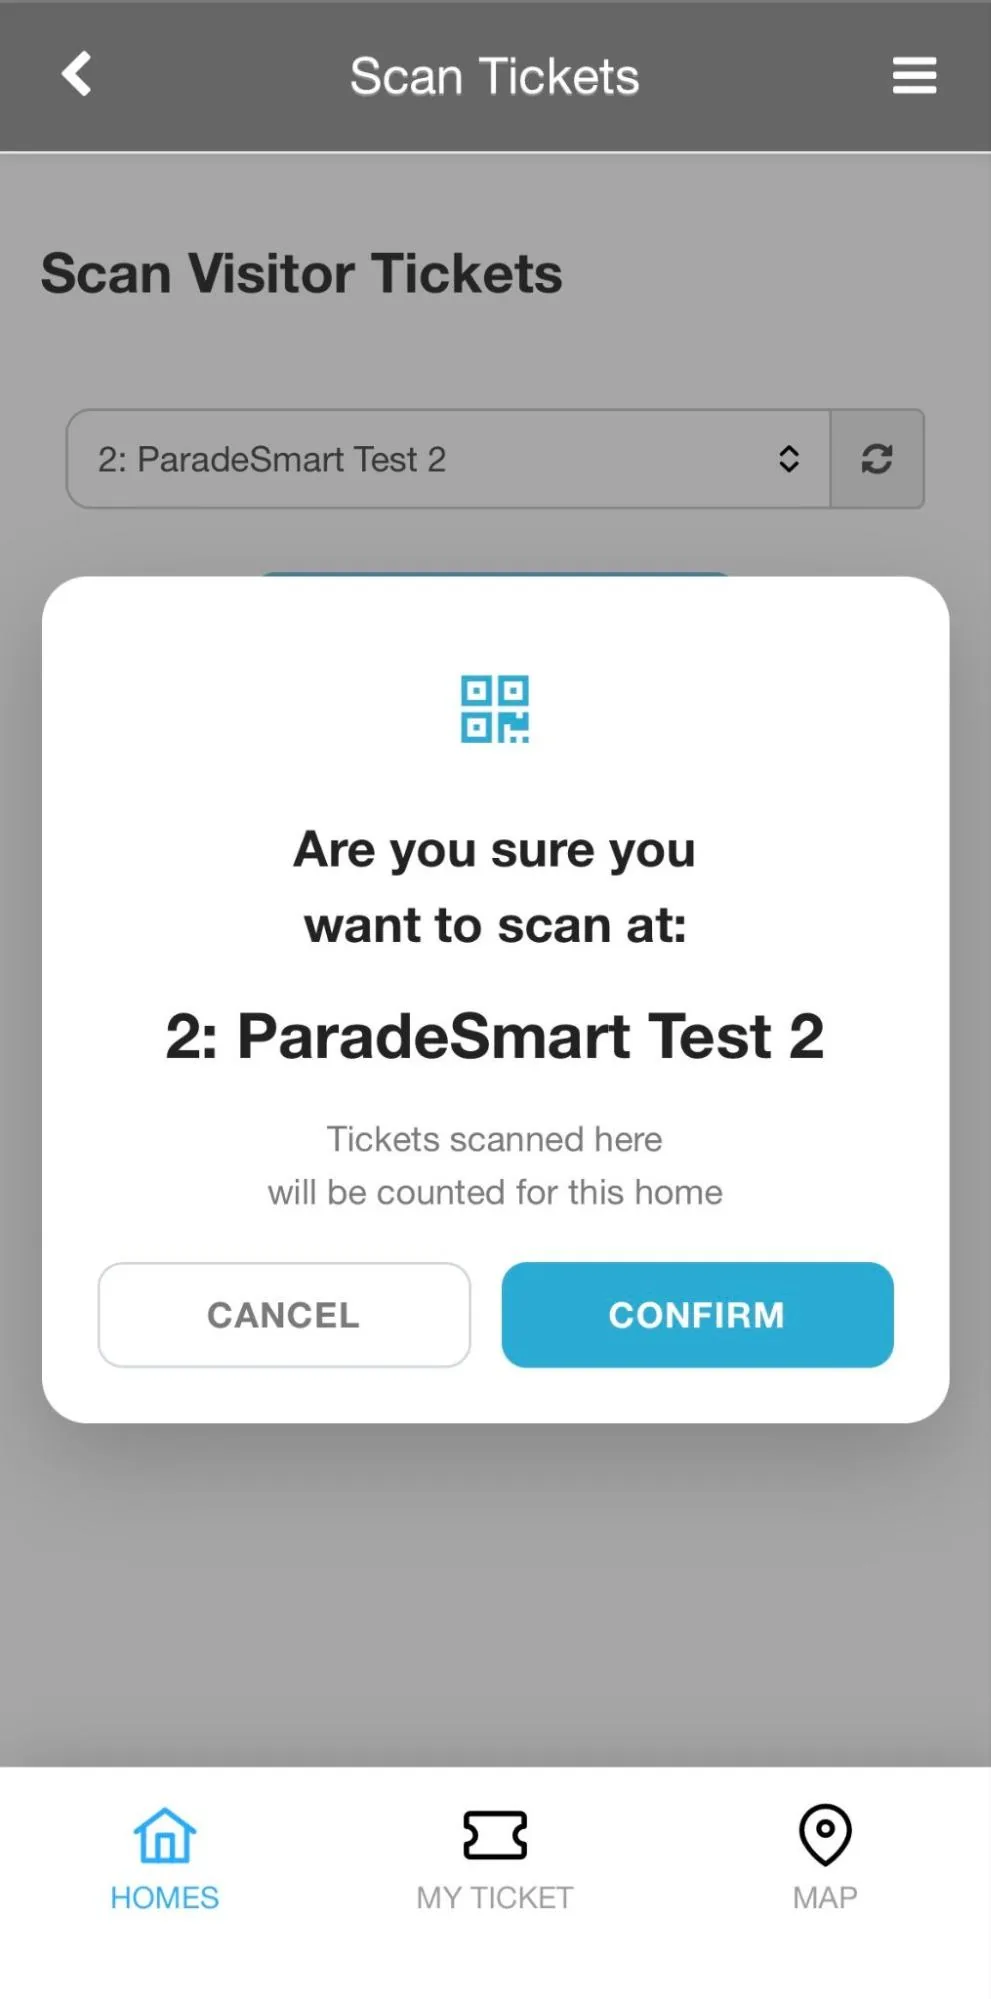
Builders log into the app with their builder account credentials. They'll see a scanning interface tied to their home(s). They can scan visitor tickets and sell tickets at the door — all from a single screen.
Viewing live scan stats
Builders can view scan data without having access to full ticket or visitor reports. In the app, after logging in as a builder, they'll find:
- Scan Stats — full event scan history, plus scans for their specific home
- Scanned Tickets Log — record of all scans made on that device (Pending / Success / Error tabs)
The Reset Button
The Reset button (near the login button in the app) clears cached data so builders see the most recent version after a fix or update. After resetting, they'll need to log back in and re-register their ticket, but previous scan history stays intact.
Watch the tutorial: Find your builder logins →. You can also go to the Home → Preview → Advanced Options to see the linked user account.
Finding & Editing Ticket Records
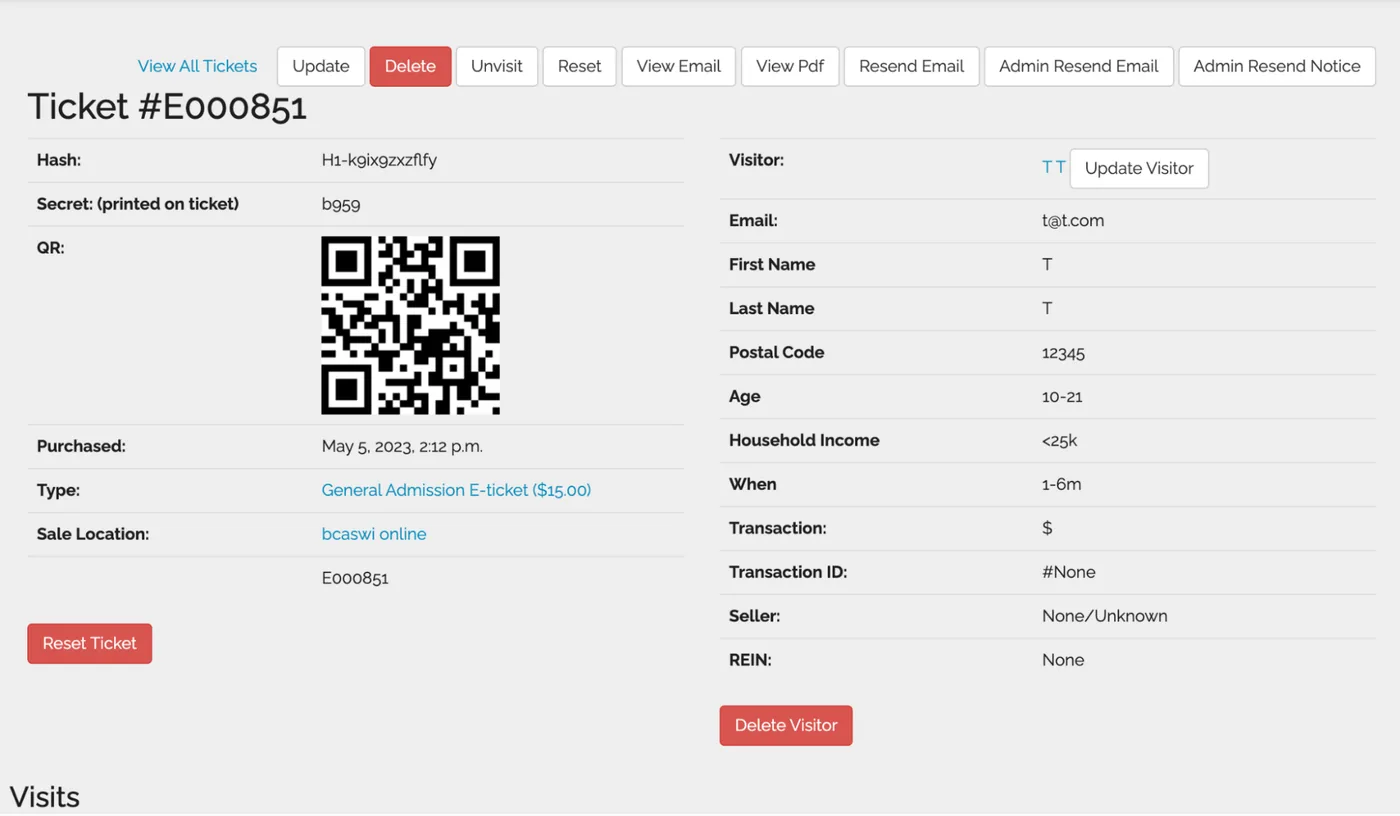
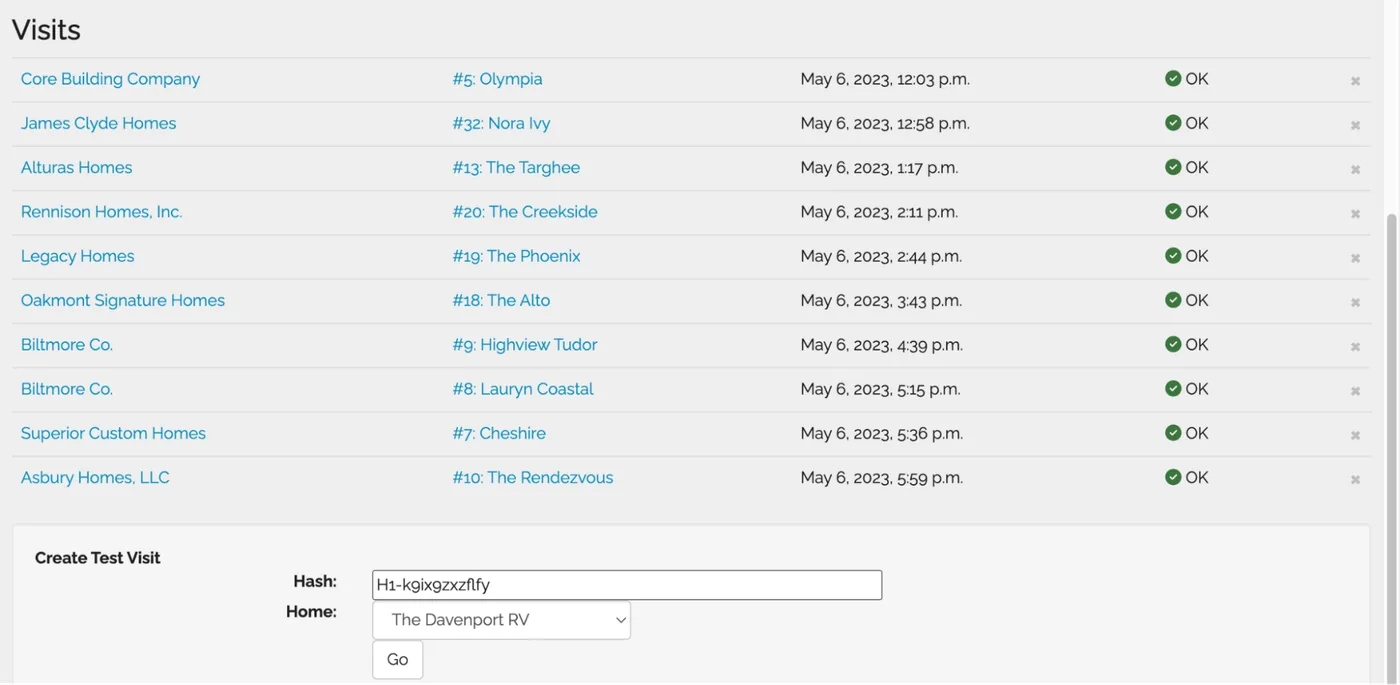
Every ticket purchase is stored in the Web Manager. You can search, view, update, or resend any ticket.
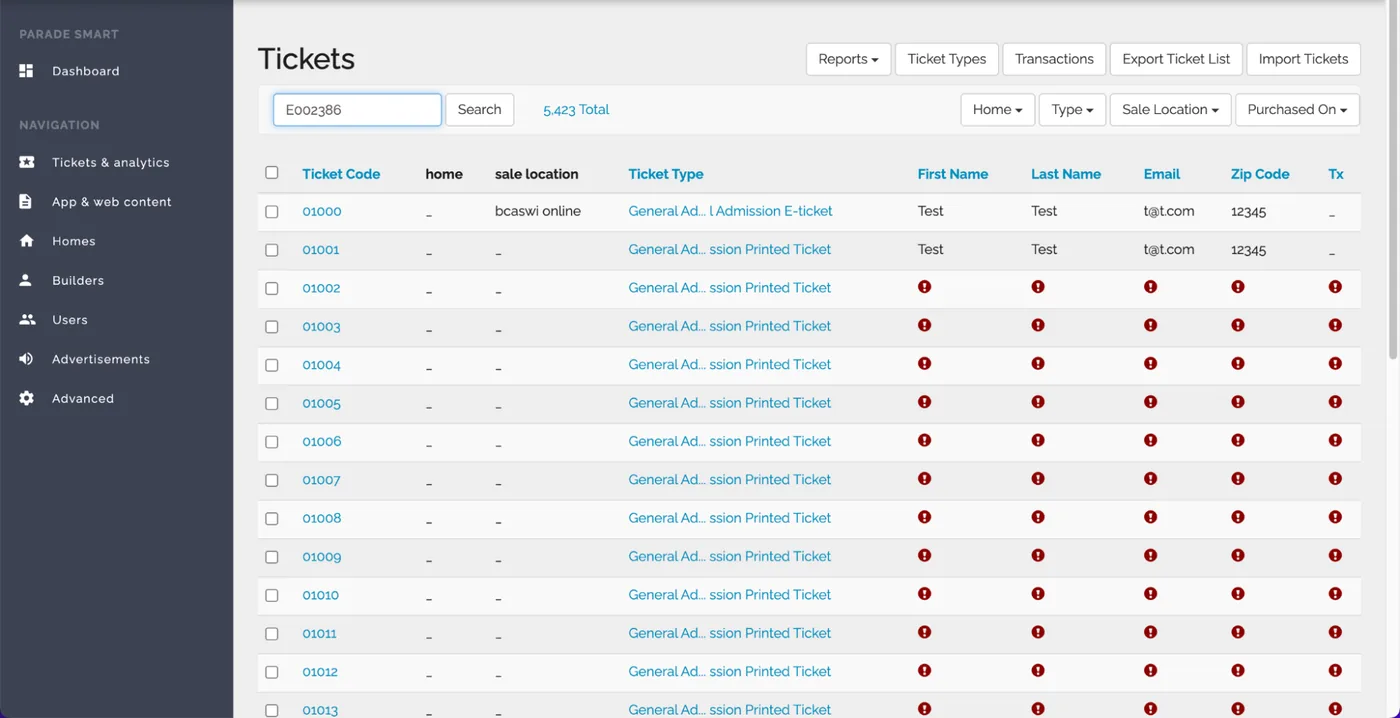
- 1Go to Tickets & Analytics in the Web Manager
parade.velocitywebworks.com/manage/tickets - 2Search for the ticket
You can search by: Transaction ID · First name · Last name · Ticket number · Address · Phone · Email
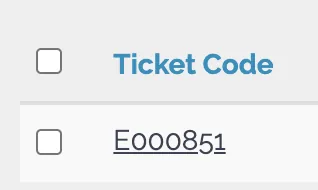
- 3Click the ticket number to view full details
- 4Use the action buttons at the top of the ticket record
Resend email · View ticket · Update visitor info · Add home visit manually
Deleting a ticket or resetting it removes all associated data permanently. We cannot recover deleted ticket information. Use these buttons only when absolutely necessary, and double-check before confirming.
Receipts & Lost Tickets
When a purchaser can't find their ticket email
Ask them to check their spam or junk folder first. If they still can't find it, you have two options:
- 1Resend from the ticket record
Find the ticket in the Web Manager and use the "Resend email" button.
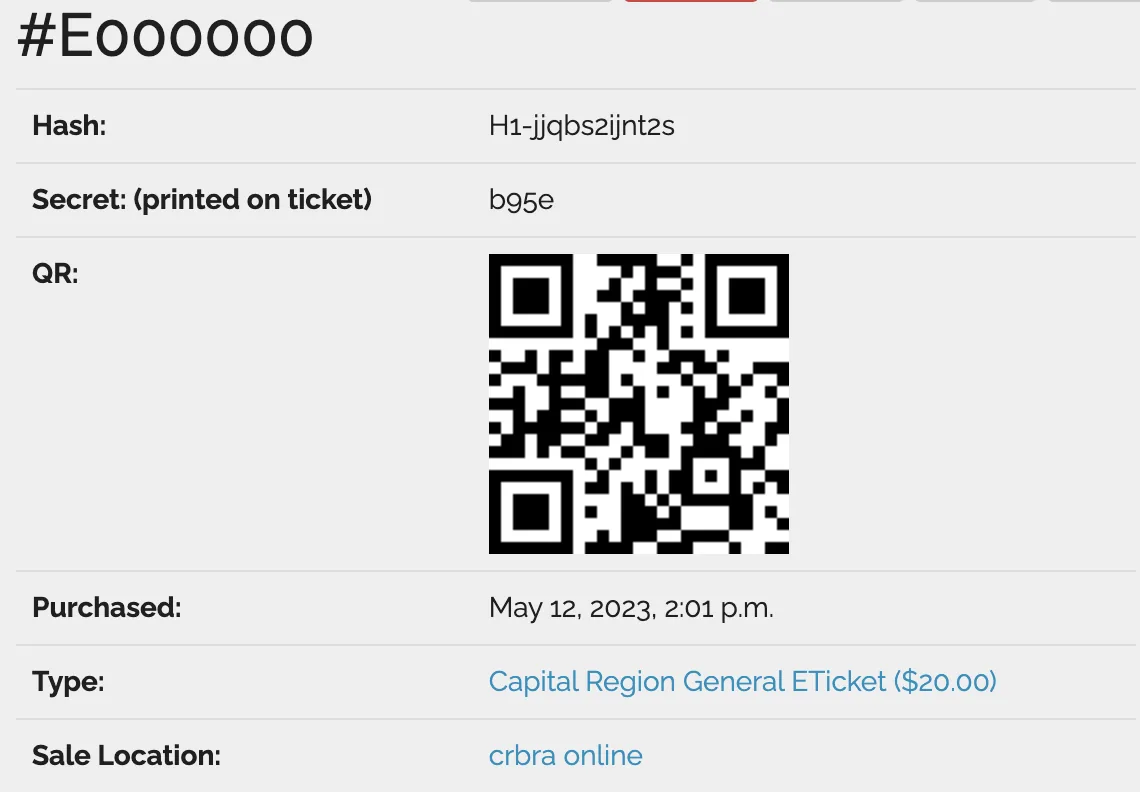
- 2Send a screenshot of the QR code
Open the ticket record, view the QR code, take a screenshot, and send it to the purchaser. A screenshot scans just as well as the original email.
- 3Tell them how to self-recover
In the app menu, they can tap "Recover ticket number & code." If they still have their order confirmation (with the ticket number and code), they can enter it in the E-ticket section and the ticket will appear in the app.
Resending a purchase receipt (not the ticket itself)
Purchase receipts are sent from your payment processor, not ParadeSmart. To resend a receipt:
Find the transaction → Click it → Select "Send receipt" or "Resend receipt" → Confirm email and send.
Search for the transaction → Select "Email receipt" or download and forward manually.
Resending receipts must be done directly from your Stripe or Authorize.net account. We don't have access to your payment processor.
Ticket Demographics & Data
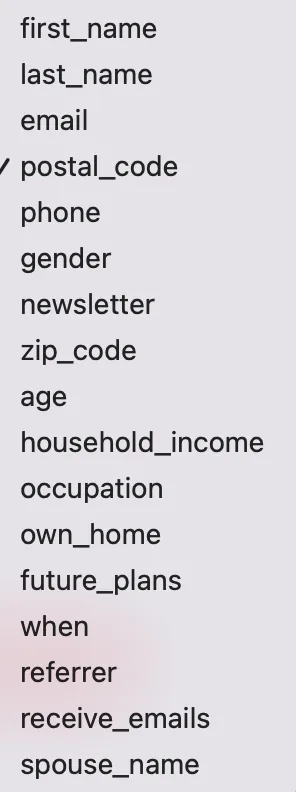
ParadeSmart can collect demographic information from ticket purchasers during checkout — age, household income, zip code, occupation, homeowner status, and more. Any question can be optional or required.
Send us your preferences — which questions you want to ask and whether each should be required — and we'll add them to your checkout flow. This data will then appear in your Reports section.
The Tickets Sold Report export includes all demographic data you've collected, including: gender, age, household income, occupation, homeowner status, zip code, referral source, and newsletter opt-in status. This data is extremely useful for sponsor reporting and future marketing planning.
Terms & Conditions
You can display your own terms and conditions that attendees must agree to before completing a ticket purchase.
- 1Write your terms and conditions
Draft your own language covering ticket refund policy, event rules, and data use. This is your association's legal text — ParadeSmart doesn't provide legal templates.
- 2Send them to ParadeSmart
We'll add your terms to the checkout flow. Purchasers will be required to check an agreement box before completing their purchase.
If you plan to share ticket holder information (names, emails) with sponsors or third parties, your terms and conditions should include clear language about this — and attendees should have an opportunity to opt in or out. Data privacy laws vary by state. Consult a legal expert in your jurisdiction to ensure compliance.
Troubleshooting
| Problem | Most likely cause & fix |
|---|---|
| Ticket won't scan — shows error | Check the Scan Start/End Date on that ticket type. If today is outside the scan window, the ticket will error even if valid. Clear the scan dates to make it scan any time, or adjust the date range. |
| VIP ticket isn't scanning but GA is | Confirm you're scanning with the correct ticket type. VIP and GA types use separate scan windows — make sure the VIP date range includes today. |
| Attendee can't find ticket email | Ask them to check spam/junk. Resend from the Web Manager, or send a QR code screenshot. They can also self-recover in the app menu under "Recover ticket number & code." |
| Online ticket sales not showing | Confirm the Ticket Sales Start Date in Parade Settings has passed. Confirm the ticket type is Active. |
| Builder can't log in to scan | Builder accounts need a password to work — they won't function otherwise. Set a password in the Users tab and share it with the builder. Passwords can't be viewed, but can always be reset. |
| Coupon code isn't working | Confirm the ticket type tied to the coupon is Active. Confirm the coupon code is spelled exactly right (case-sensitive). Check that the ticket type has a price set correctly. |
| Scans showing as Pending in the app | This means the device is offline or the scan hasn't synced yet. Once the device reconnects to internet, Pending scans will upload automatically to the master report. |
Our support team is available before, during, and after your parade. Email us at support@paradesmart.com or give us a call — real people, real help.