Homes & Builders
Add and manage builder profiles, home listings, map coordinates, custom fields, and bulk imports for your parade.
⏱ About 12 min read- Adding builders
- Builder logins
- Adding homes
- Hiding and showing homes
- Changing the builder on a home
- Custom fields (Traits)
- GPS coordinates & map pins
- Apple / Google destination fields
- Import homes with CSV
- Import subcontractors with CSV
- Import members/businesses with CSV
- Add restaurants & businesses to app
Adding Builders
Builder profiles are the foundation of your parade listing. Add builders first, then attach homes to each builder profile.
Builder profiles only appear in the app and website if they have either a logo or an About section. Make sure each builder has at least one before launch.
If you delete a builder profile, all homes linked to that builder are deleted along with it. Always double-check associations before deleting. Use the Hidden toggle on homes instead of deleting, when possible.
Builder Logins
Builder login accounts are created automatically when you add a builder — you do not need to create them manually. Your job is simply to set a password and share the credentials with the builder.
- 1Go to the Users tab in Web Manager
Search for the builder's name. Confirm you see it highlighted in blue.
- 2If you can't find the right user, locate it via the Home record
Go to the Homes tab → find the home → click Preview → scroll down → click Advanced Options. The Builder Administrators shown there link directly to the automatically created user.
- 3Click Edit on the user record, set a password, and save
Share the username and password with your builder or their staff. Builders can change their password themselves after first login if they prefer.
For security reasons, no one — including the ParadeSmart team — can view an existing password. If a builder forgets theirs, simply go to their user record and set a new one.
Adding Homes
Add homes under the builder they belong to. Each home needs a name, a builder assignment, and accurate GPS coordinates for the map. Full address and listing details can be added as you go.
Hiding and Showing Homes
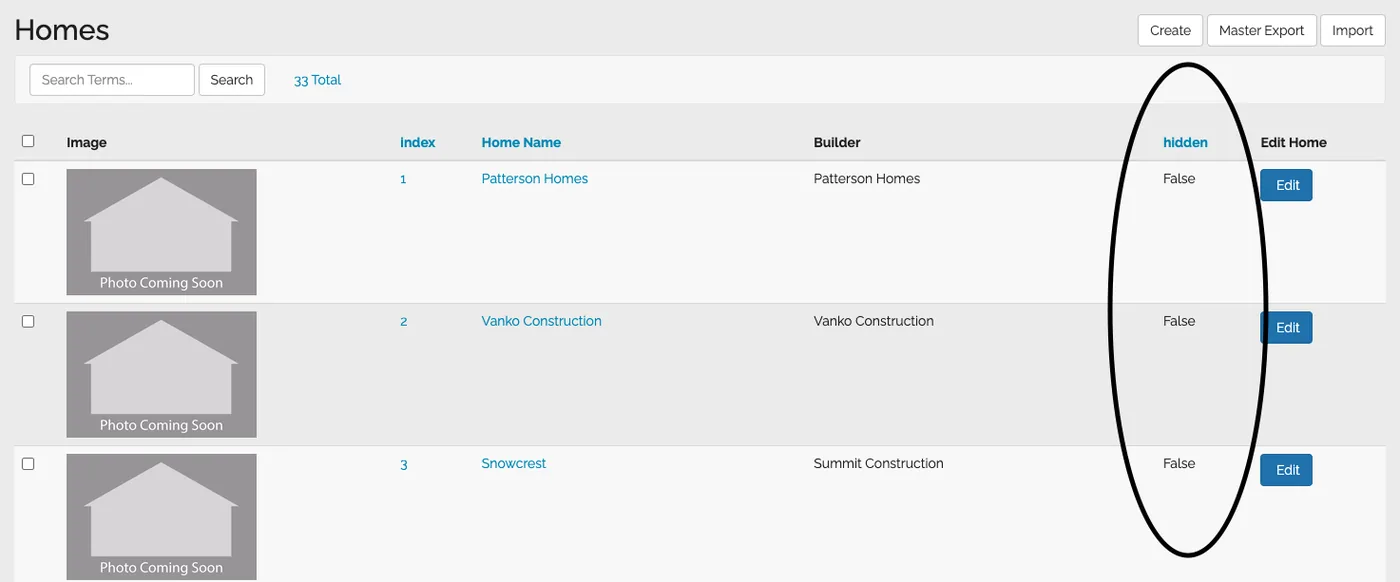
Any home can be marked Hidden so it doesn't appear publicly. This is the right way to keep work-in-progress homes out of the app while you build out your listing — add all your content first, then unhide when you're ready.
How to hide or show a single home
In the Web Manager, click the Homes tab. Each row has a Hidden column. False = visible to attendees. True = hidden from public view.
How to hide or show multiple homes at once
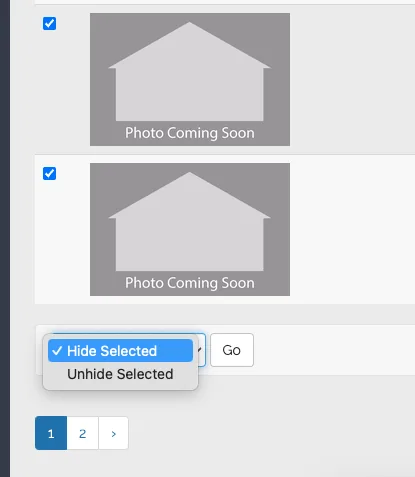
- 1Check the boxes on the left side of each home row you want to change
- 2Scroll to the bottom of the homes list
- 3Use the dropdown to select "Hide selected" or "Unhide selected" and click Go
If you want all homes to become visible on a specific date and time (rather than managing each one manually), set a Plottable Date in Parade Settings. This controls when home addresses and map pins become public.
Changing the Builder on a Home
If the wrong builder account is assigned to a home, here's how to fix it.
- 1Click the Homes tab in the sidebar
- 2Find the home and click Edit
- 3Click the Preview tab at the top of the Home Details page
- 4Scroll to the bottom and click Legacy Update Screen
- 5In the Builder field, select the correct builder name from the dropdown
- 6Scroll down and click Save
To confirm the change, go to the target builder's profile, click Show Advanced Options, and verify the home now appears there.
Custom Fields (Traits)
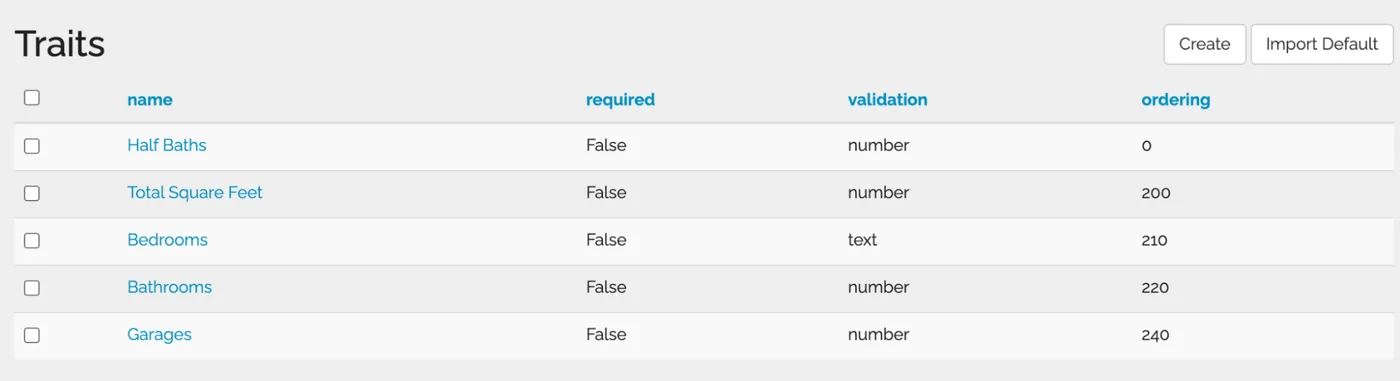
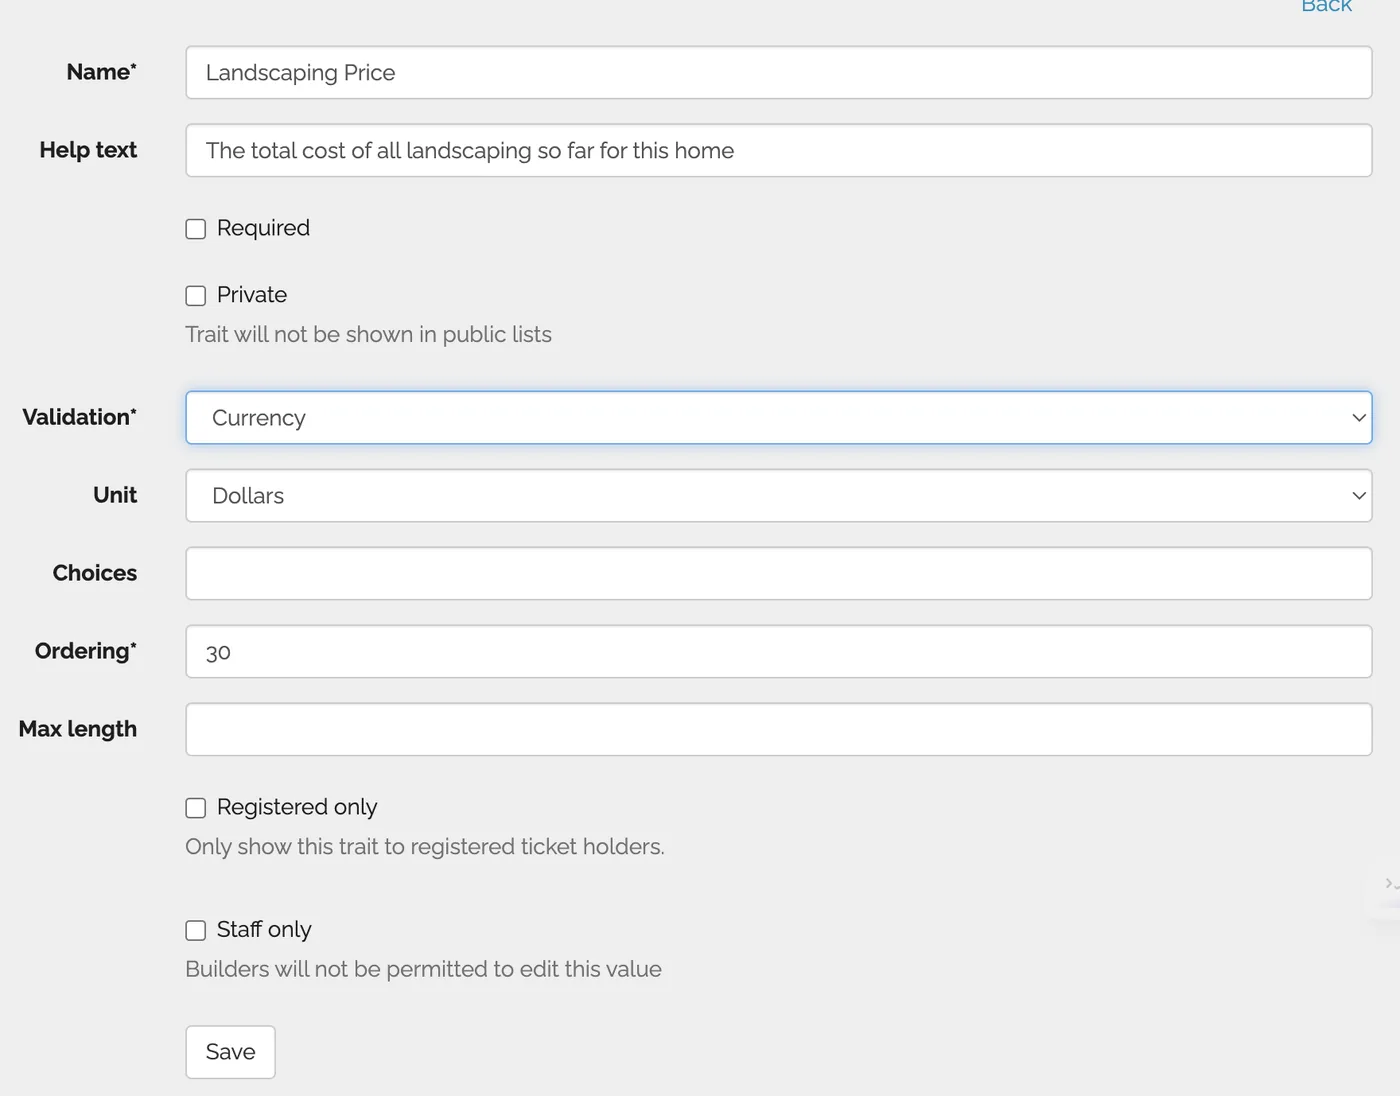
Traits let you add custom data fields to your home forms — anything beyond the standard fields like square footage, subdivision, or bedrooms. Examples: pool (yes/no), style (dropdown), HOA fees (currency).
- 1Go to Advanced → Traits in the Web Manager
parade.velocitywebworks.com/manage/traits/ - 2Click Create
- 3Choose a Validation type
Validation controls what kind of data is accepted:
- Text block — a full paragraph of text
- Short text — one line only; also used for code purposes
- Currency — numbers only; formatted as a dollar amount
- Number — numbers only
- Email — validates email format
- Website — validates URL format
- Yes/No — only accepts "yes" or "no"
- 4Configure optional settings
Unit — mark answers as "$" or "sq ft" (optional). Choices — create a dropdown with comma-separated options. Ordering — higher numbers appear lower in the list. Max length — limits paragraph answers. Registered only — restrict visibility to ticket holders only.
- 5Save
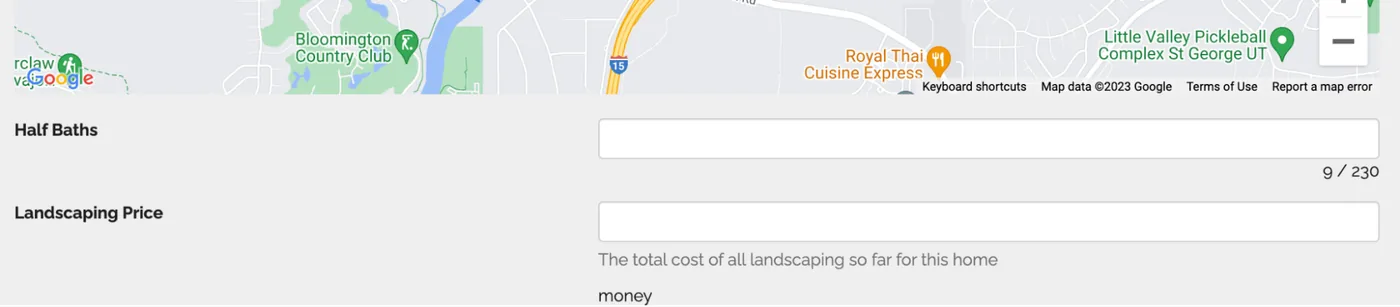
New traits won't appear publicly on your website or app until our team adds them to your display code. Send us a message once you've created one so we can get it showing for attendees.
GPS Coordinates & Map Pins
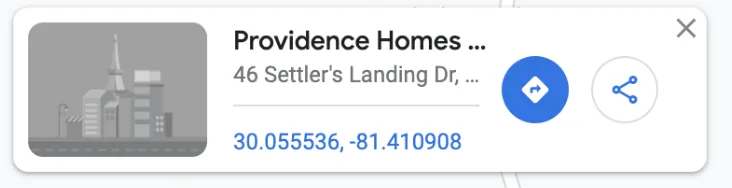
Accurate coordinates are the most important part of your parade map. Don't rely on address-based geolocation — use Google Maps to find the exact physical location of each home and paste the coordinates directly.
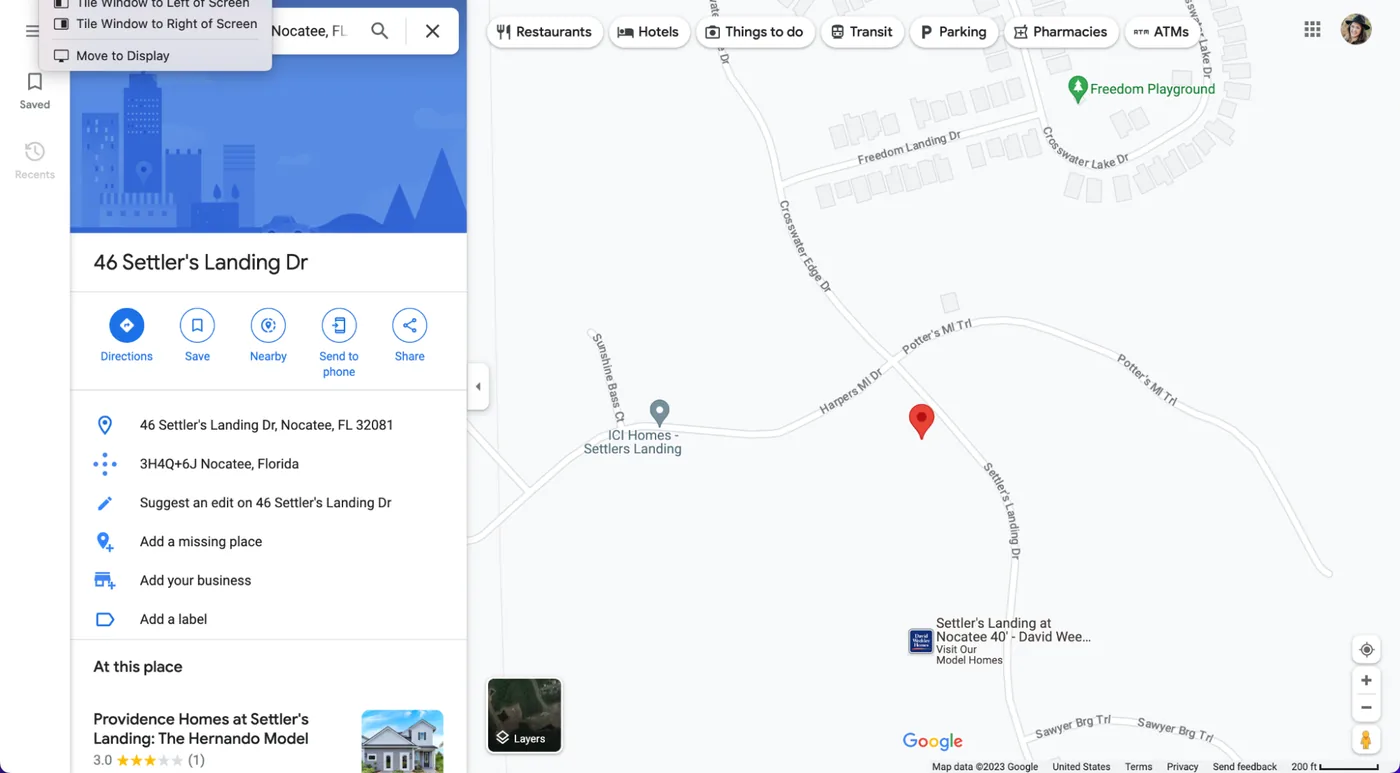
- 1Open Google Maps and search for the home's address
- 2Zoom in and click the exact physical location of the house
For new construction, this may differ from where the address pin lands — click the actual structure or lot, not the address marker.
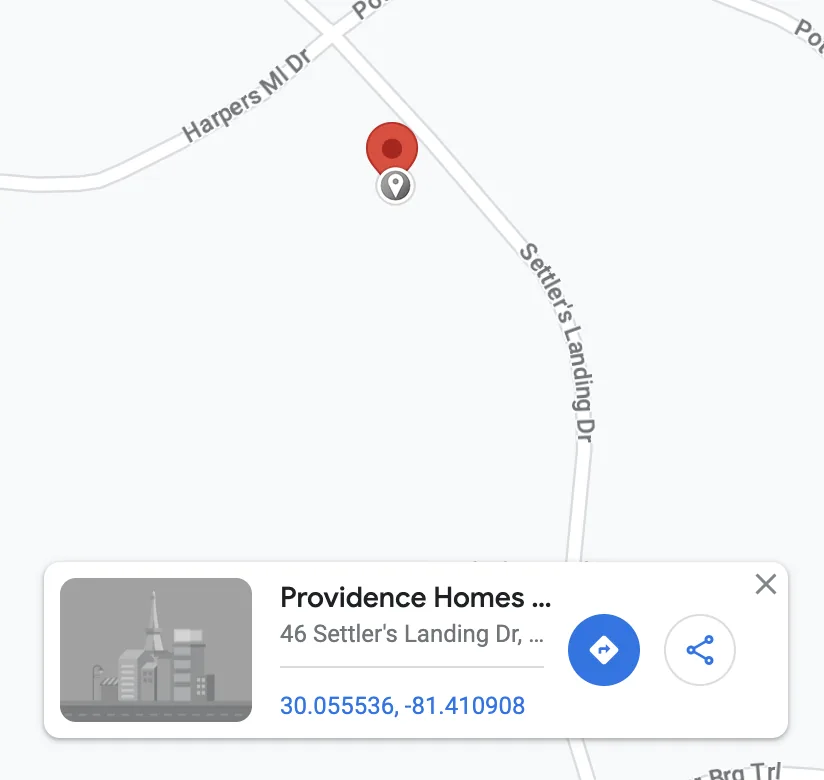
- 3Copy the latitude and longitude numbers shown in blue
- 4Paste them into the Latitude and Longitude fields on the home record in Web Manager
- 5Do not press Geolocate — just save
The website map updates instantly. The app map may take up to 24 hours to reflect the change.
Log into your app as an admin and tap the map to verify each home pin is landing correctly before the parade goes live. Test on both iPhone and Android — they can behave differently.


Apple / Google Map Destination Fields
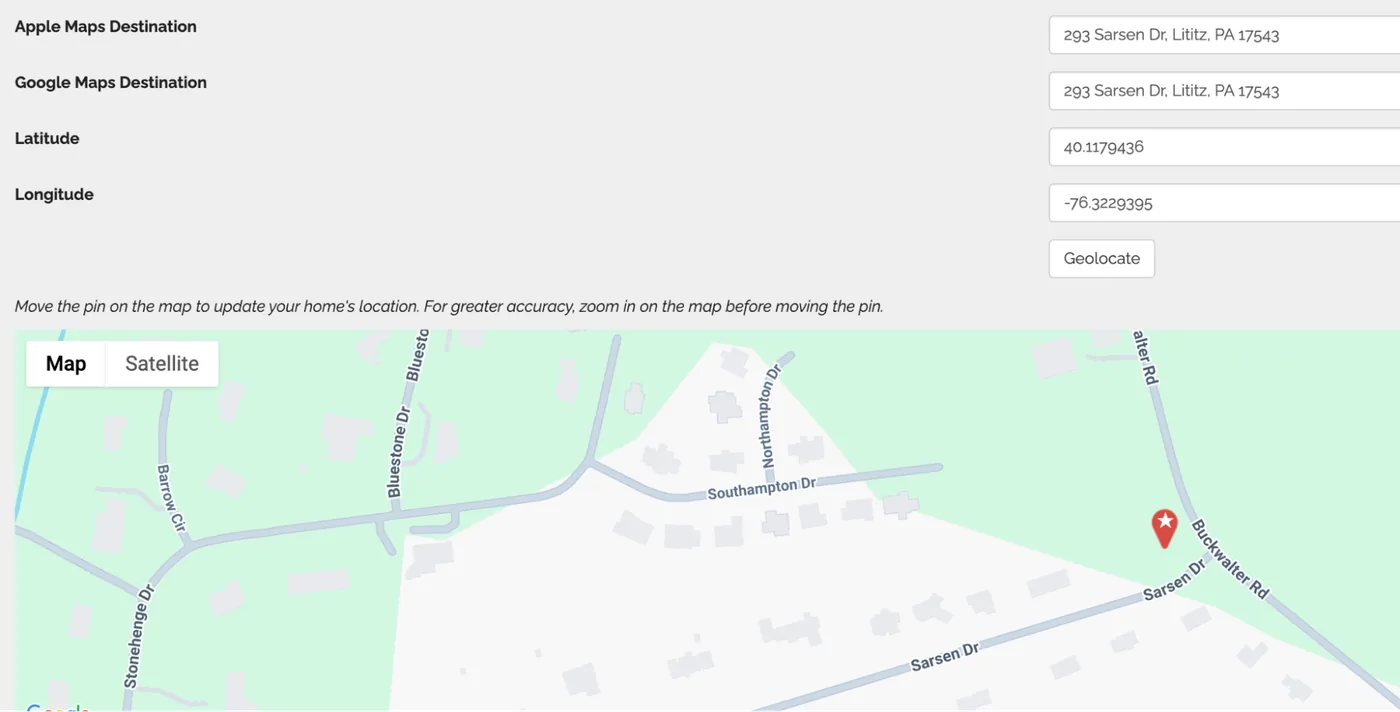
For new roads and new developments, GPS coordinates sometimes don't route correctly in Apple Maps or Google Maps. The destination address fields let you specify a backup address so attendees get accurate directions even when the mapping apps don't recognize the GPS coordinates.
How it works
- If a Google or Apple destination address is entered, the app tries that address first when a user taps Directions
- If the address can't be resolved, the app falls back to GPS coordinates
- If no destination address is entered, the app always uses GPS coordinates only
When to use this field
- The home is on a new road that isn't in Apple Maps or Google Maps yet
- Testing reveals that directions are routing to the wrong location
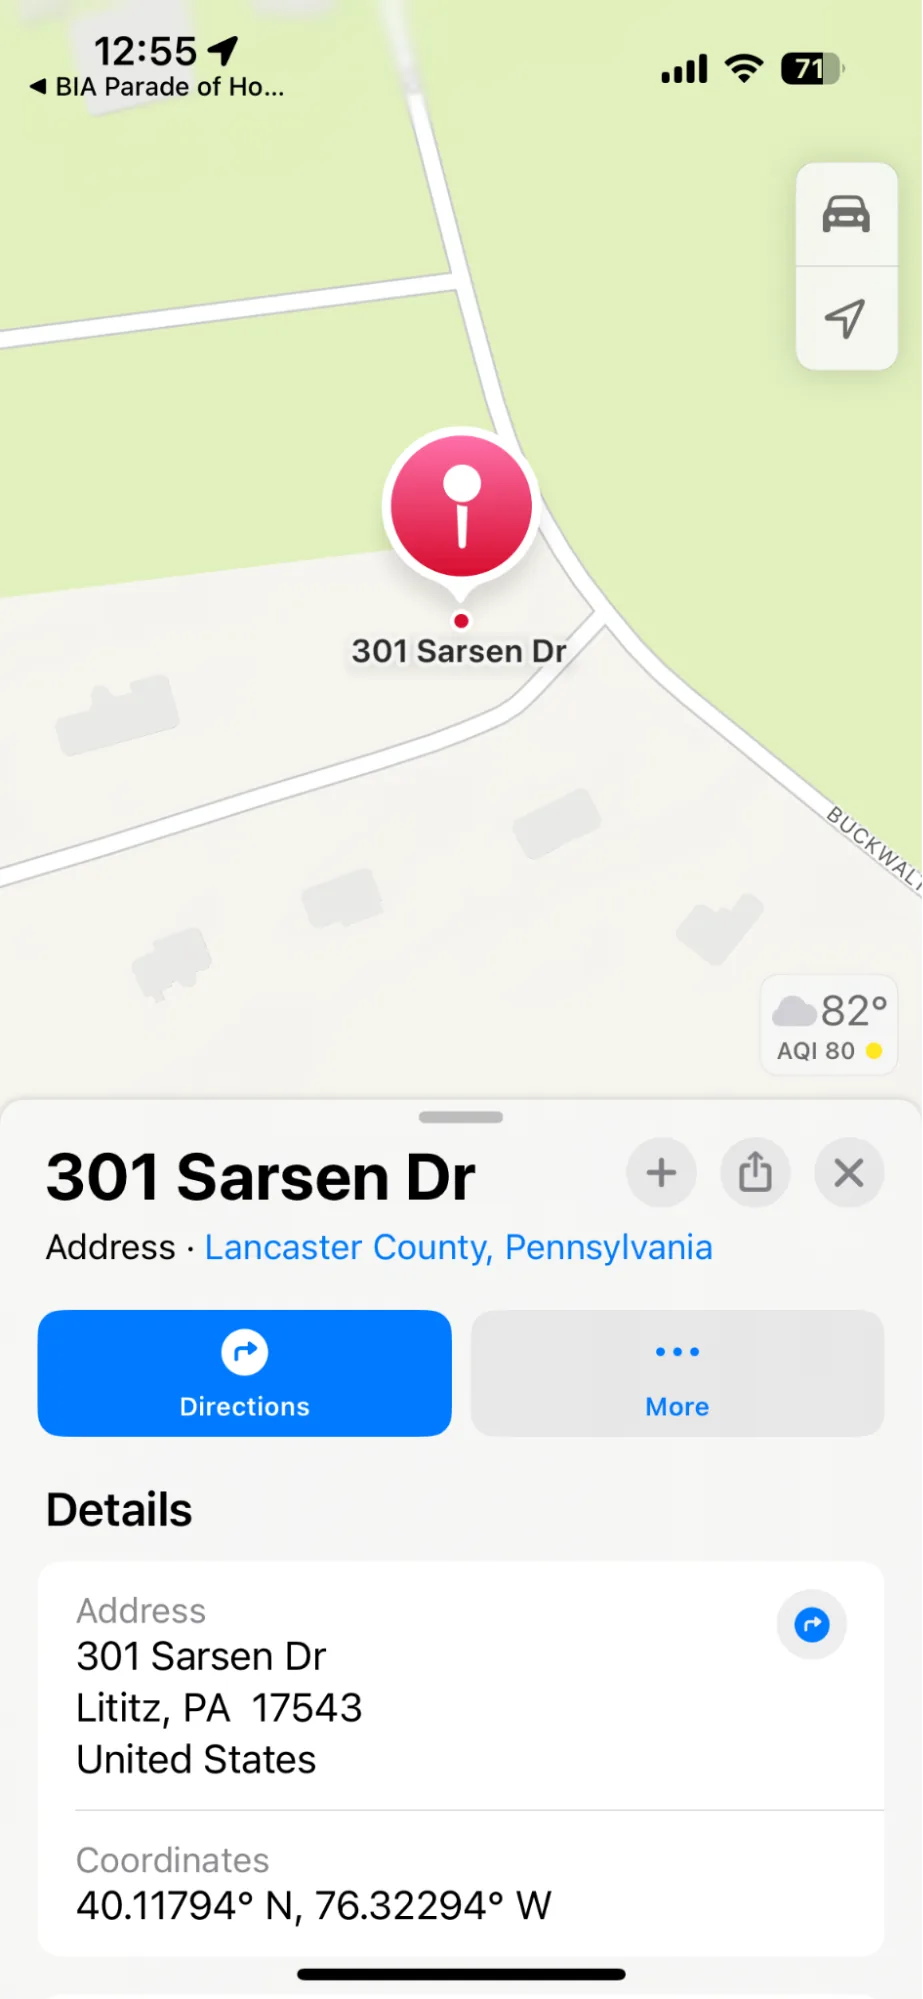
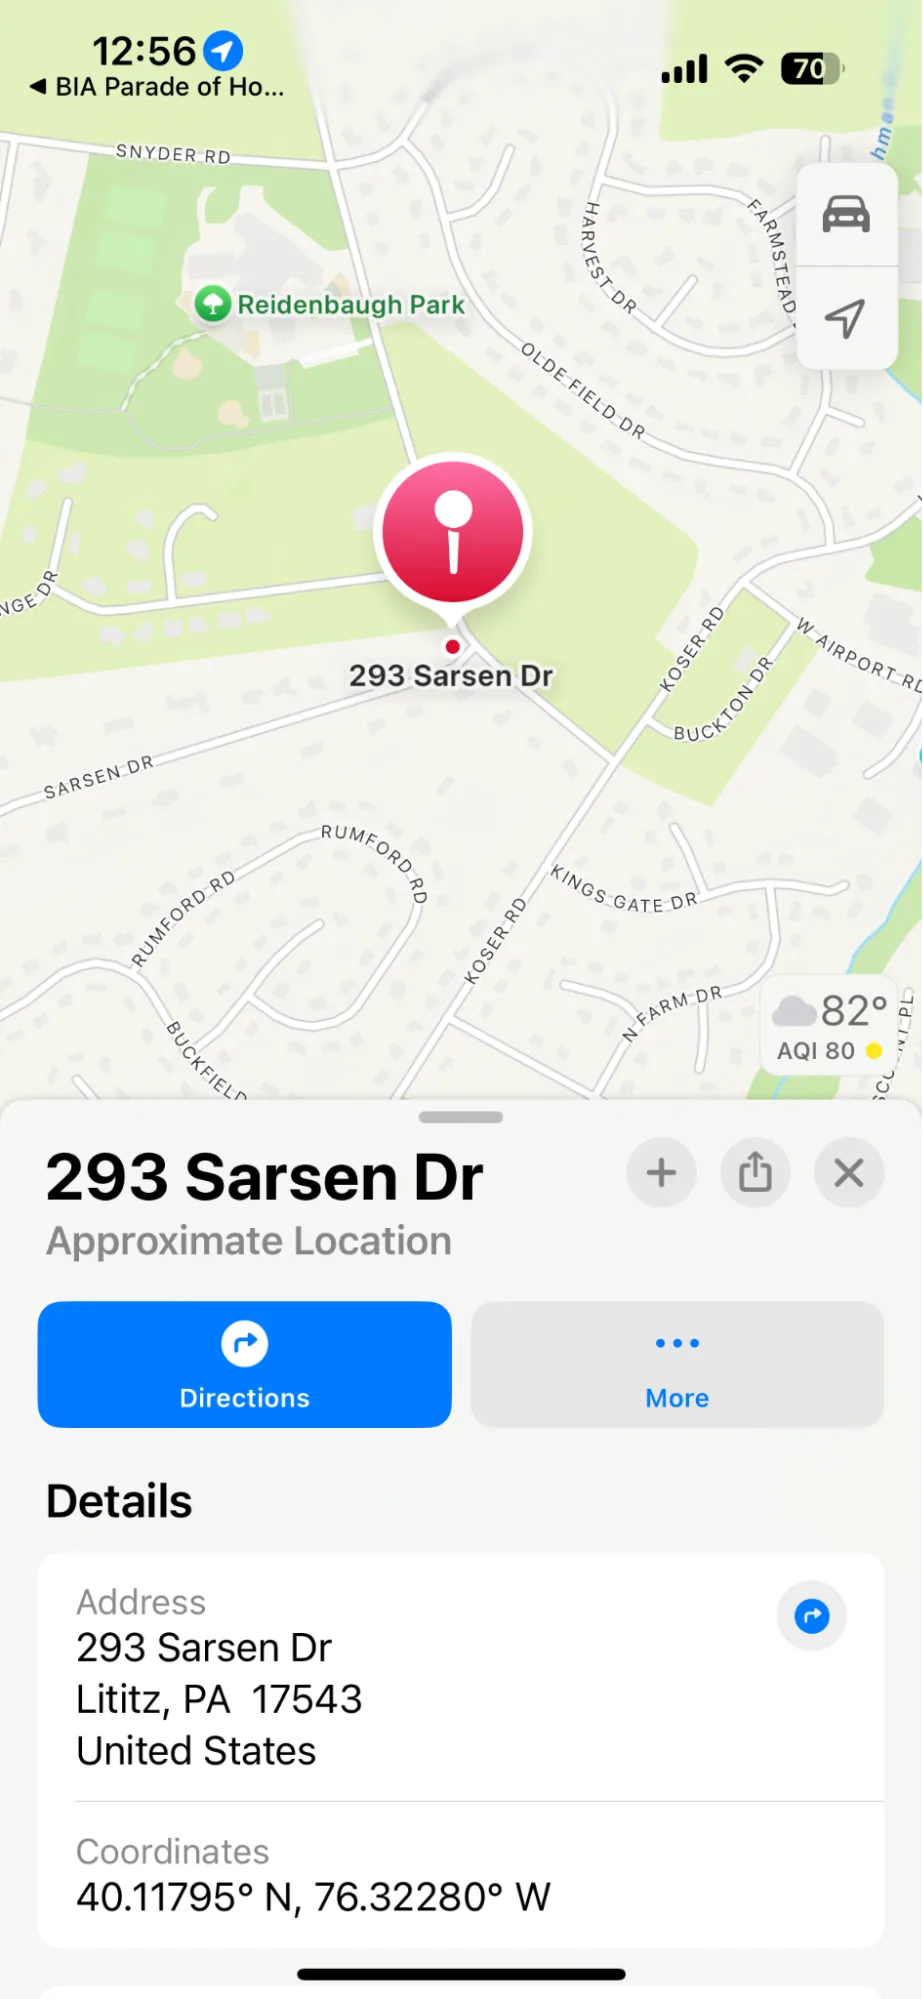
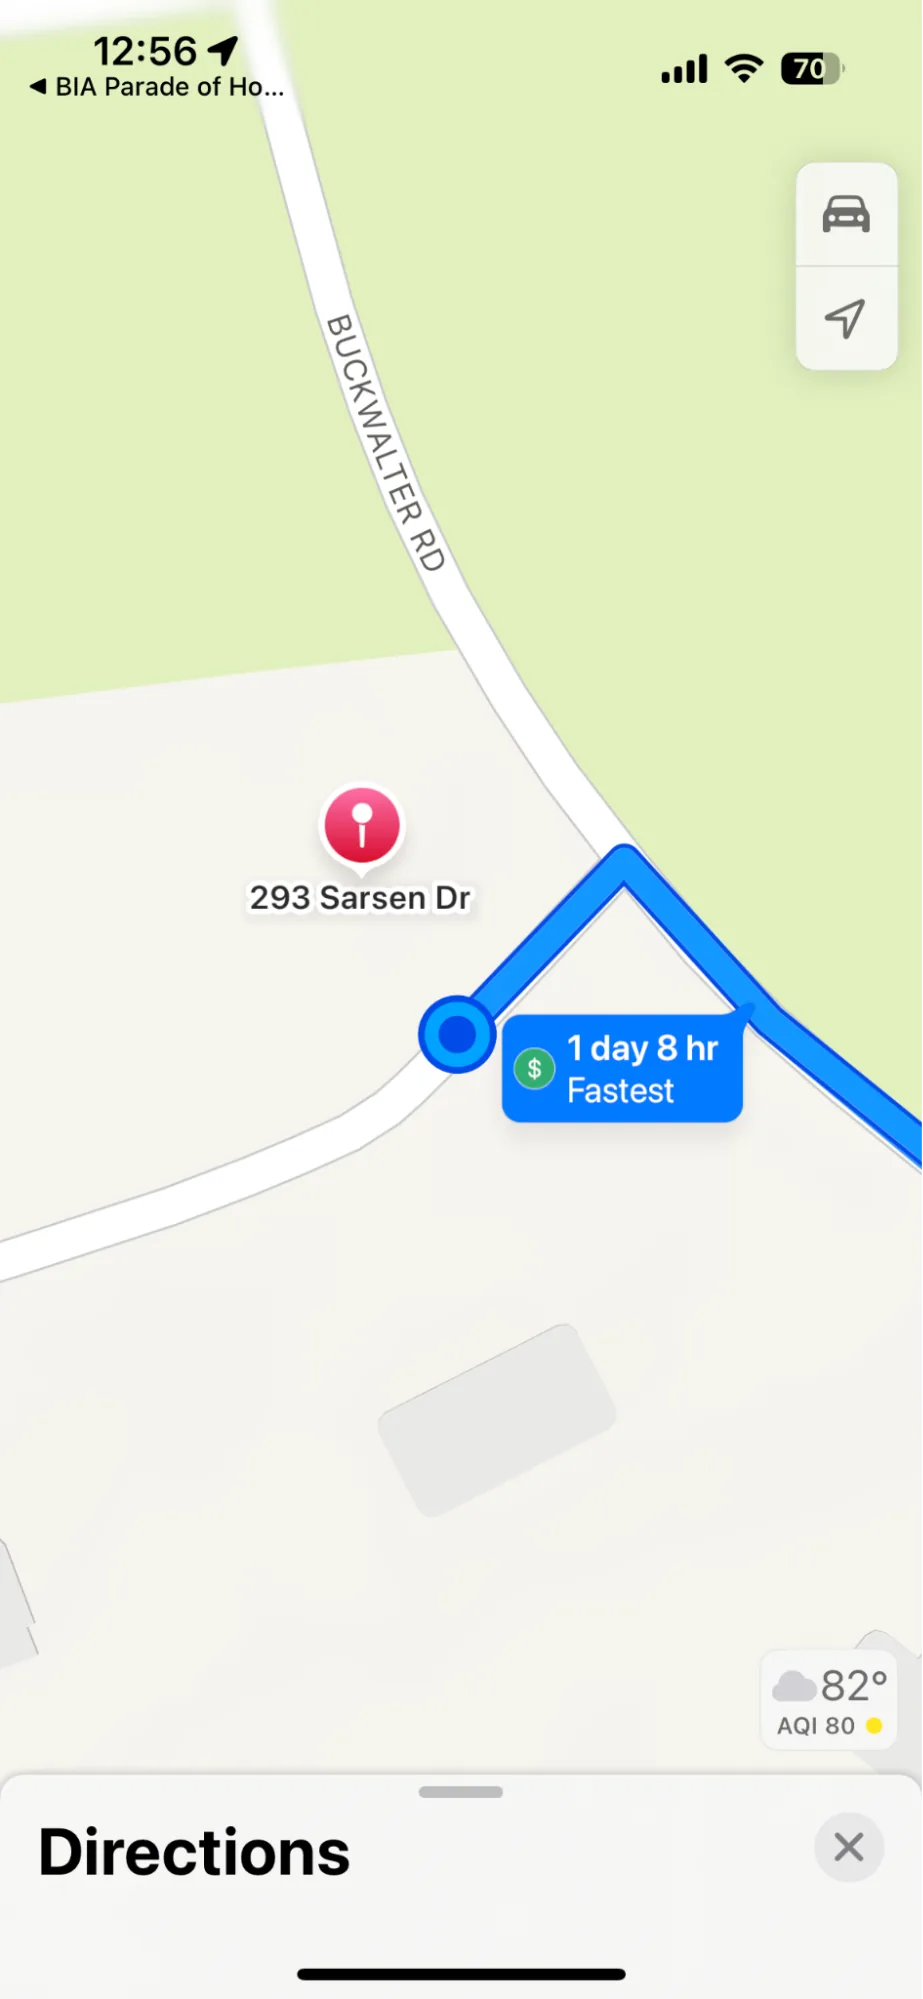
A home in Pennsylvania had GPS coordinates that routed users to 301 Sarsen Dr in Apple Maps — but the actual home was 293 Sarsen Dr. Adding 293 Sarsen Dr to the Apple Map field fixed the directions immediately.
Apple Maps and Google Maps can produce different results from the same coordinates. Test on both before the event and fix any homes where directions seem off.
Import Homes with a CSV File
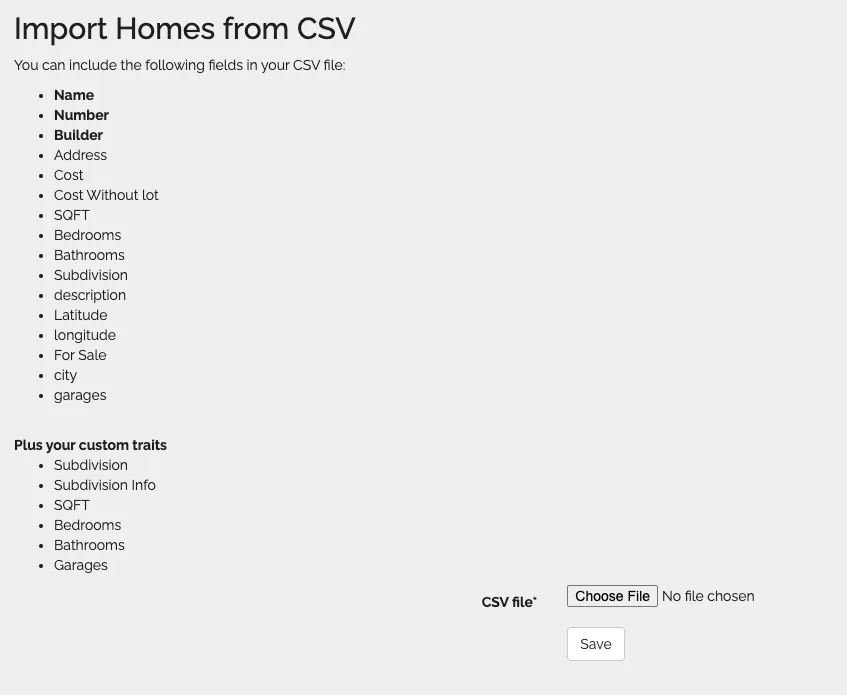
If you have many homes to add, importing a CSV file is faster than adding them one by one. Prepare your file in Excel, Google Sheets, or any spreadsheet tool, then save as .CSV before uploading.
The system matches columns by their exact header name. A single spelling difference or extra space will cause that column to be skipped or the import to fail.
Supported columns
| Column Name | Notes |
|---|---|
| Name Required | Whatever you want the home to be called |
| Number Required | Order in list (numerical) |
| Builder Required | Must match the builder name exactly as it already exists in the ParadeSmart system |
| Address | Full address, however you want to write it |
| Cost | Numbers only — no $, commas, or periods |
| Cost Without lot | Numbers only — no $, commas, or periods |
| SQFT | Numbers only |
| Bedrooms | Numbers only |
| Bathrooms | Numbers only |
| Subdivision | Free text |
| Description | Free text |
| Latitude | Numbers, minus signs, and periods only |
| Longitude | Numbers, minus signs, and periods only |
| For Sale | Write "True" or "False" |
| City | Free text |
| Garages | Numbers only |
How to import
- 1Go to Homes → click Import in the top right corner
- 2Choose your .CSV file and upload
Allow a minute for the system to process larger files.
- 3If the upload fails, troubleshoot the file
Common causes: spelling errors in column headers, extra commas in numbers, blank cells (try zeros instead), a column the system can't read (try removing it and entering that data manually).
If a home name already exists in the system, re-uploading will update it rather than creating a duplicate — as long as the name matches exactly.
Import Subcontractors with a CSV File
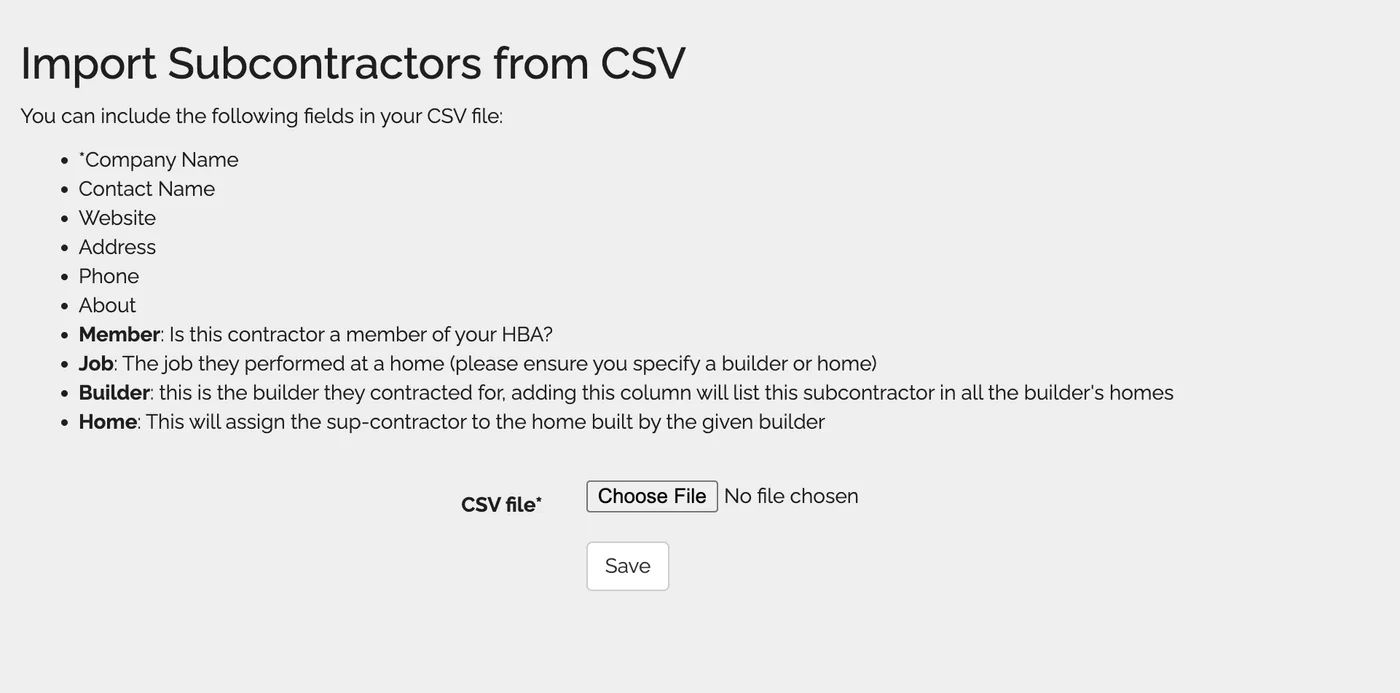
Add subcontractors in bulk via CSV. Subcontractors appear on builder and home profile pages, showing attendees who worked on each home.
Supported columns (in this order)
| Column Name | Notes |
|---|---|
| Company Name | Do not include any asterisk (*) in your header — the system adds that internally |
| Contact Name | Individual contact at the company |
| Website | Must include http:// or https:// |
| Address | Full address |
| Phone | Phone number |
| About | Short description of the company |
| Member | Put "yes" if this subcontractor is a member of your HBA |
| Job | The work they performed (e.g. Framing, Electrical, Plumbing) |
| Builder | The builder they contracted for — links the sub to all that builder's homes |
| Home | Specific home they worked on (assigns sub to just that home) |
How to import
- 1Go to Advanced → Subcontractors → click Import
parade.velocitywebworks.com/manage/subcontractors/import/ - 2Choose file and upload
For large files, try uploading in chunks of 100 rows or fewer to avoid errors.
Import Members & Businesses with a CSV File
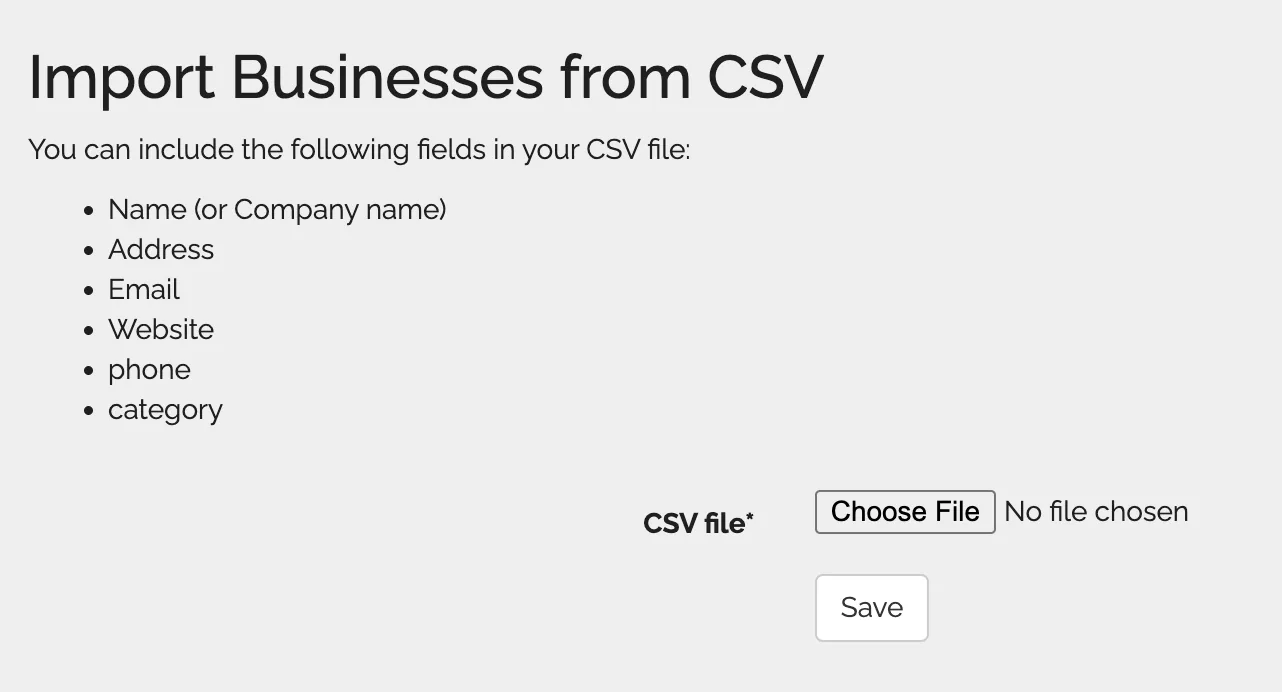
Add HBA member businesses to your directory in bulk. These appear in your member or business directory on the website and app.
Supported columns
| Column Name | Notes |
|---|---|
| Name | Business or member name |
| Address | Full address in one cell — do not split into street, city, zip, etc. |
| Contact email | |
| Website | Must include http:// or https:// |
| Phone | Phone number |
| About | Short description |
| Category | Business category or member type |
How to import
- 1Go to Advanced → Businesses
parade.velocitywebworks.com/manage/businesses/ - 2Click Import, choose your file, and upload
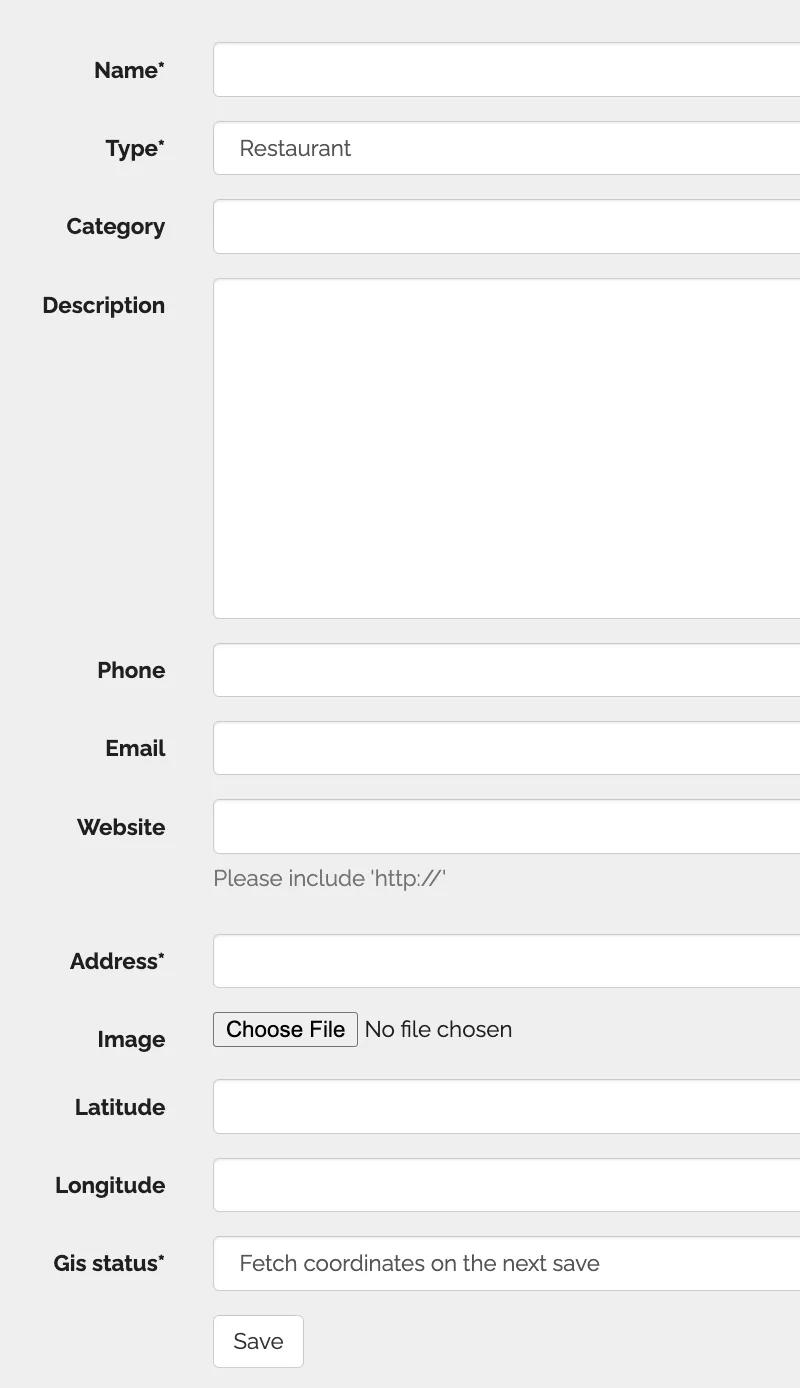
Adding Restaurants & Businesses to the App
You can add local businesses — restaurants, coffee shops, attractions — to a dedicated tab in your parade app, giving attendees something to do between home visits.
- 1Go to Advanced → Businesses
parade.velocitywebworks.com/manage/businesses/ - 2Click Create and fill out the business form
Select "Ignore this location" in the geocaching field unless you're running a specific geocaching feature with ParadeSmart.
- 3Save
The business will appear in the Restaurants tab of your app in alphabetical order. If you don't have a Restaurants tab yet, add it via the App Menu settings.