Website & App Content
Build custom web pages, manage your app's navigation menu, set up virtual tours, and get exact graphic specs for your app and ads.
⏱ About 7 min readCreating & Editing Web Pages
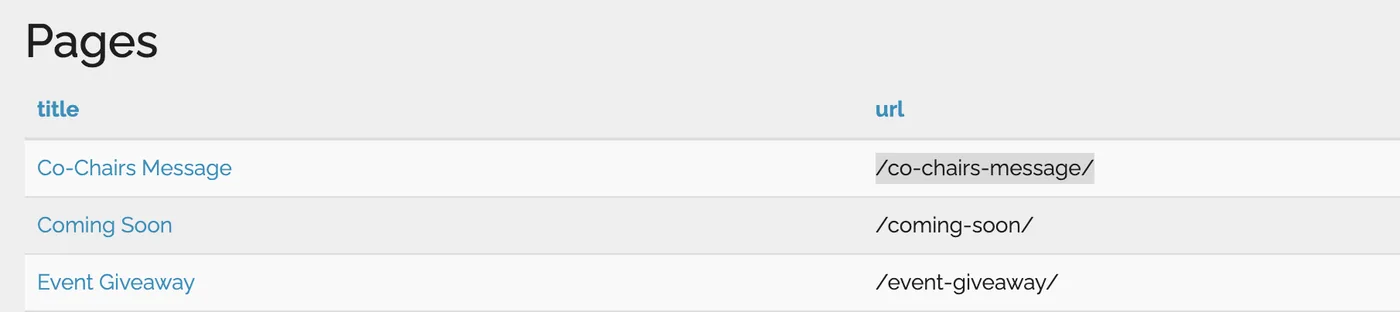
Any client can create custom web pages and add information, links, and images. You can also edit pages from previous years. Pages go live immediately when saved and are accessible via a URL based on your domain.
- 1Go to App and Web Content in the Web Manager
parade.velocitywebworks.com/manage/pages - 2Click Create to make a new page, or click an existing page's blue link to edit it
- 3Use the text editor to build your content
You can add: regular paragraphs, headers (under Format), lists, links to any URL or PDF, uploaded images, and custom HTML code (under Tools → Source Code).
- 4Save — the page goes live immediately
To view your page, copy the URL shown after saving and open it in a browser.
Pages are accessible at: https://YOUR-DOMAIN/web/page/YOUR-PAGE-SLUG/
Example: https://paradeofhomeslethbridge.com/web/page/executives-message/
Pages from past events are still in the system. You can edit them to update content for the current year rather than creating a new page from scratch.
App Menu Management
You can add, reorder, and deactivate links in your parade app's menu. This controls what attendees see when they tap the app menu.
- 1Go to Advanced → Parade Menu Items
parade.velocitywebworks.com/manage/menu - 2Drag and drop items to reorder them
The order in the list reflects the order items appear in the app menu.
- 3Check the access labels
Blue "app" items are visible to all app users. Red "admin" items are hidden in the admin section — visible only to logged-in builders and staff, not to the general public.
To add a menu item
- 1Click Create
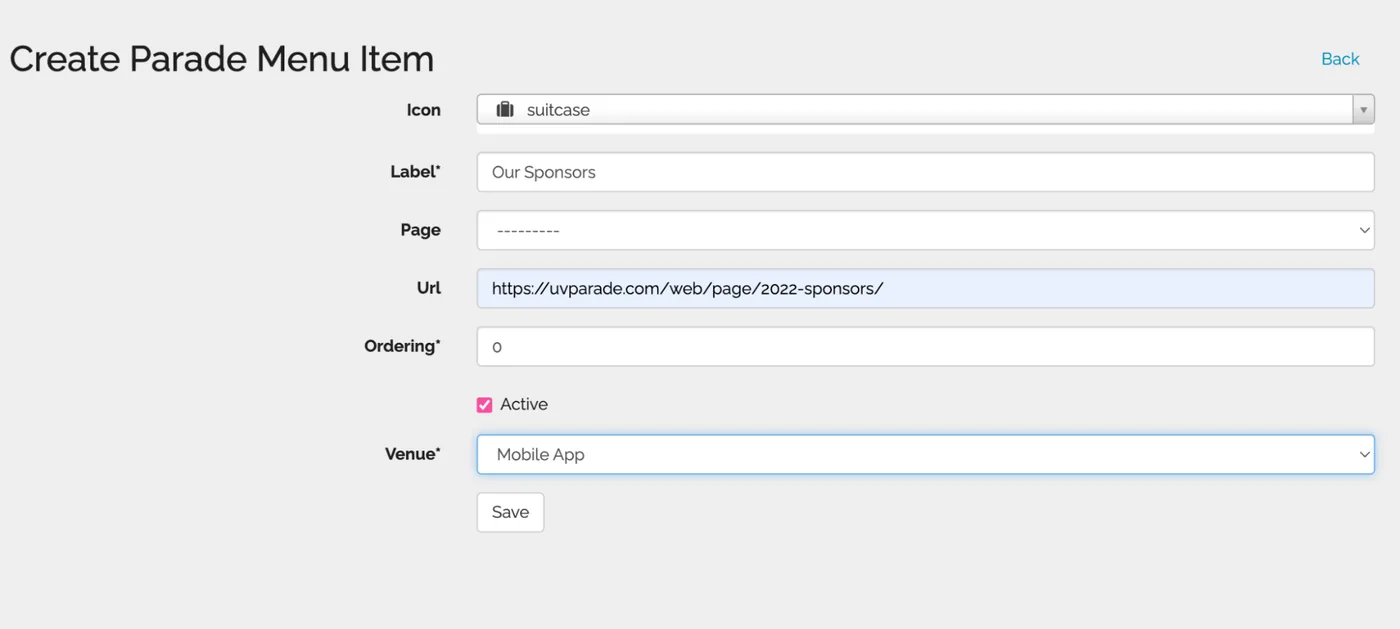
- 2Enter the label (the text shown in the menu) and the hyperlink it should open
- 3Set the Venue
Choose Mobile App to show the link to all app users, or Admin to hide it in the admin section (only visible when logged in). We don't currently recommend using the Website venue — contact us for guidance on that.
- 4Save
To remove or deactivate a menu item
Click the name of the menu item you want to remove. Uncheck the Active box. Save. The item will no longer appear in the app.
Unchecking Active is safer than deleting. You can always reactivate a menu item, but a deleted one has to be recreated from scratch.

Virtual Tours
Virtual tours extend your parade's reach beyond event day — letting attendees who couldn't see every home (or missed the event entirely) tour homes online, typically available through the end of the year.
Virtual tours keep builder profiles and home listings active and visible long after the physical parade ends. Prospective buyers who discover the parade later in the year can still tour homes and contact builders directly.
App Splash Screen Specs
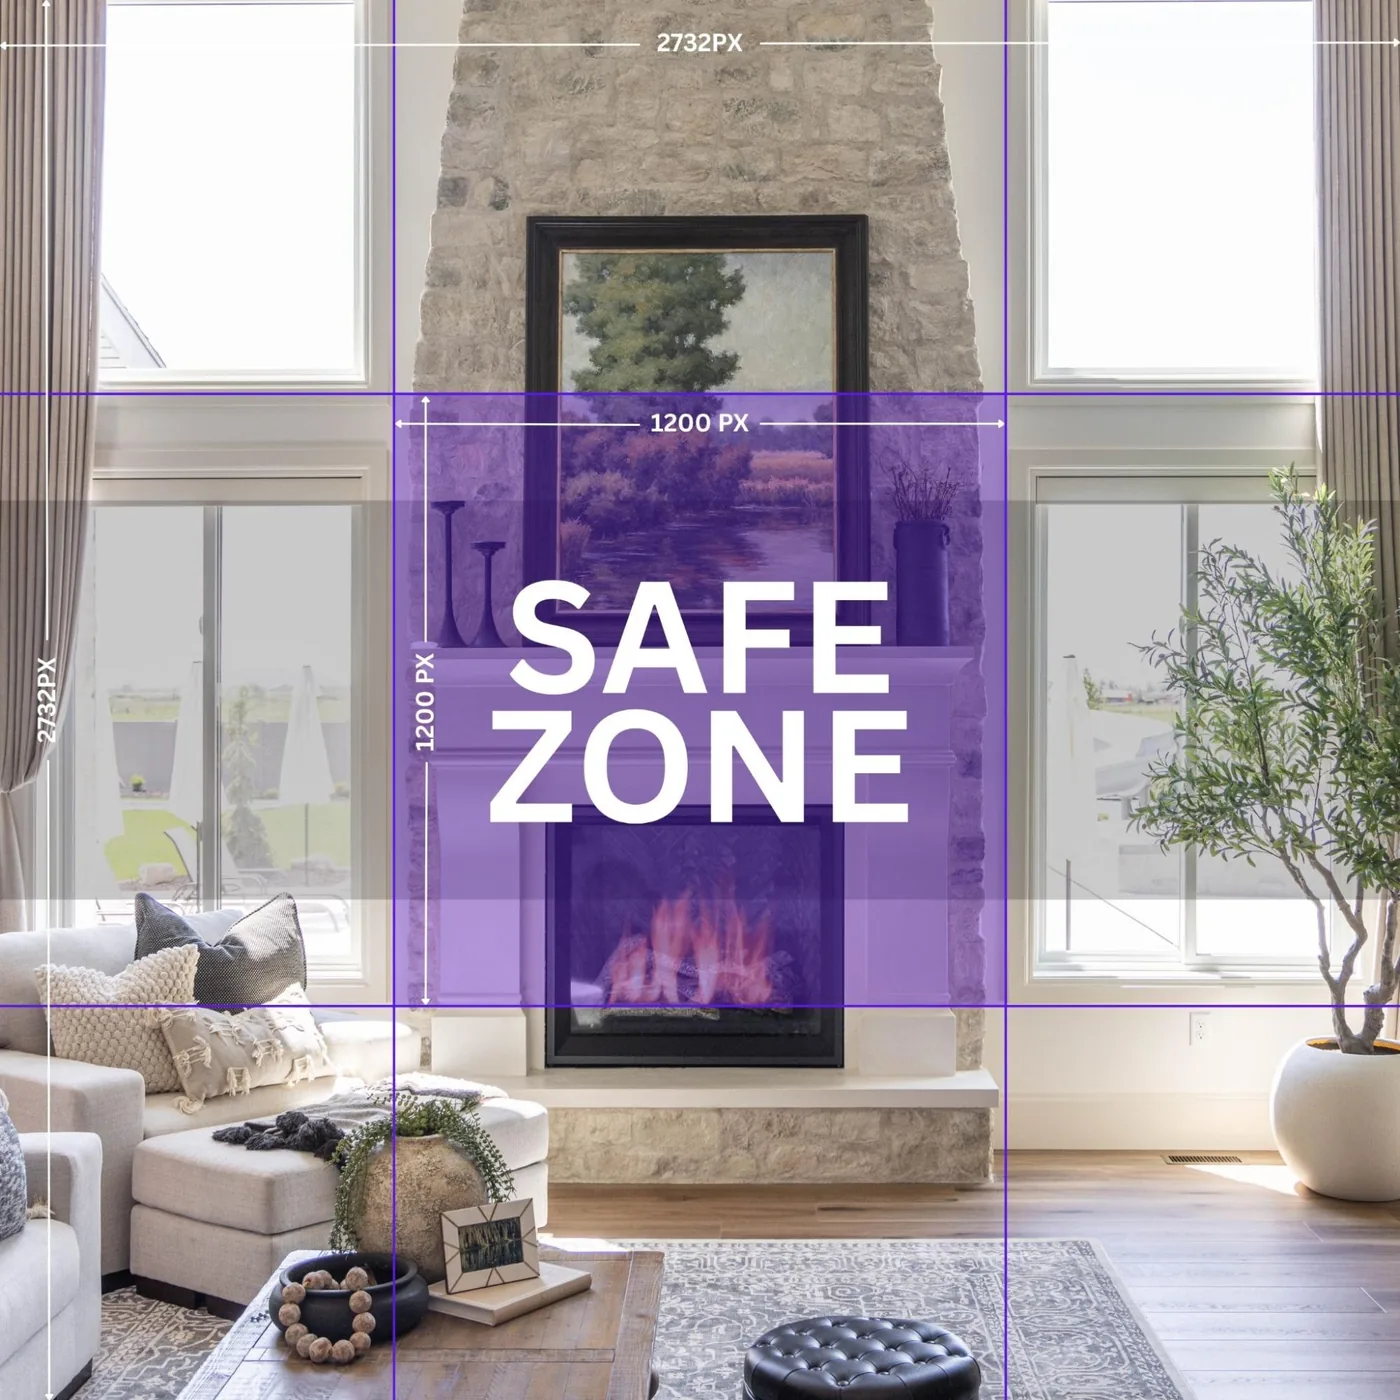
The splash screen is the full-screen image that appears briefly when the app loads. It needs to scale correctly across a wide range of iPhone and Android screen sizes, so the source file must be very large.
Splash Screen Requirements
The large 2732px dimension ensures the image can scale and crop correctly across all screen sizes. Keep your logo and important content within the centered 1200px safe zone so it's never cut off on any device.
Including the year means the graphic must be updated (and the app resubmitted to the App Store) every year. A timeless design avoids this extra step.


App Icon Specs
The app icon appears on attendees' phone home screens and in the App Store / Google Play listing. It must be legible and recognizable at very small sizes.
App Icon Requirements
Design tips
- ✅Keep key elements centered — the icon is displayed very small on home screens and search results
- ✅Use bold, high-contrast visuals that look clean against both light and dark backgrounds
- ❌Avoid small text — it will be unreadable at icon sizes
- ❌Do not round the corners yourself — the App Store and Google Play apply their own consistent rounding

Ad Banner Sizes
For detailed advertising setup instructions, see the Advertising guide. Below are the key specs for quick reference.
Standard Banner Size
The same 1200×200px image works on both platforms, but the app renders it on a much smaller mobile screen. Consider creating a simpler, larger-text version specifically for the app using the Intermediate Image field in the ad setup.